Honda Civic Service Manual: Clutch Slave Cylinder Removal and Installation (K24Z7)
211110

|
NOTE: |
|
|||
|

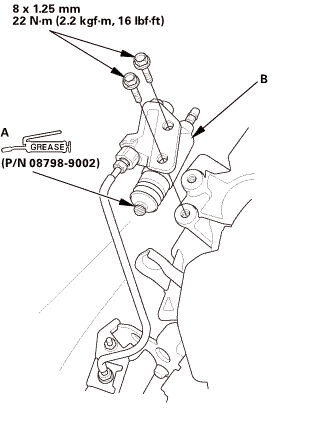
| 1. | Intake Air Duct |
|
|
|
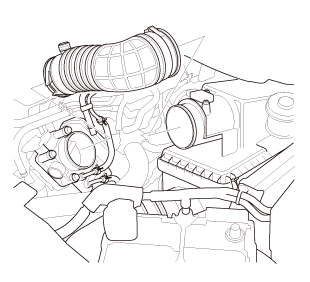
| 2. | Slave Cylinder |
|
|
|
| 3. | Clutch Line |
|
|
|
||||||
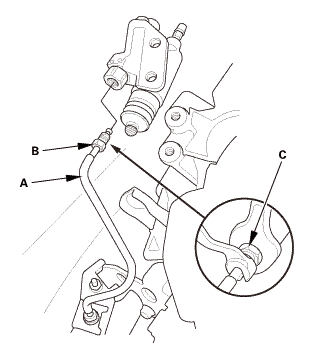

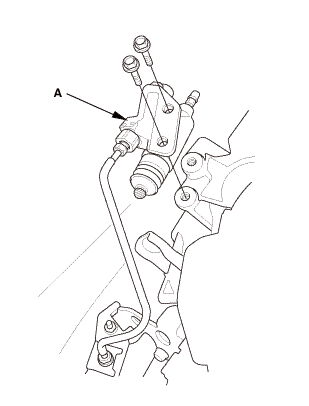
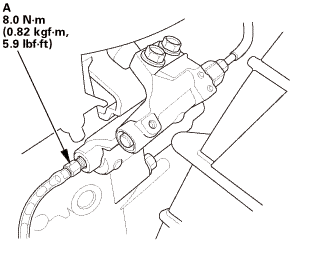
| 1. | Clutch Line |
|
|
|
||||||
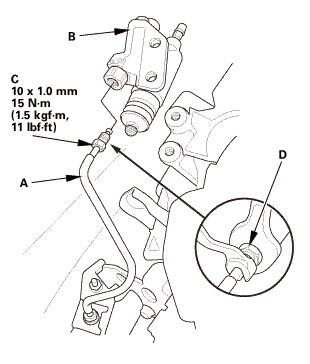
| 2. | Slave Cylinder |
|
|
|
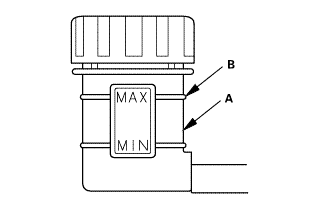
 mm
mm| 3. | Clutch Fluid Bleeding (K24Z7 Engine) |
|
|
|
|
|
|
|||||||||||||||||||||||||||||||||
| 4. | Intake Air Duct |
|
|
|
| 5. | Clutch Operation Check |
|
| 6. | Test Drive |
|
 Clutch Pedal Position Switch B Removal and Installation
726121
1.
Clutch Pedal Position Switch B
1.
Remove clutch pedal position switch B.
...
 Clutch Pressure Plate Removal and Installation (K24Z7)
Removal
1.
Pressure Plate
1.
Install the ring gear holder.
2 ...
See also:
Honda Civic Owners Manual. Adjusting the Sound
Press the (sound) button,
and rotate
to scroll through the following choices:
Rotate to adjust the sound
setting, then
press .
Adjusting the Sound
The SVC has four modes: Off, Low, Mid, and High.
SVC adjusts the volume level based on the vehicle
speed. A ...
