Honda Civic Service Manual: Shift Lock Unit Removal and Installation (A/T, CVT)
7431A1

|
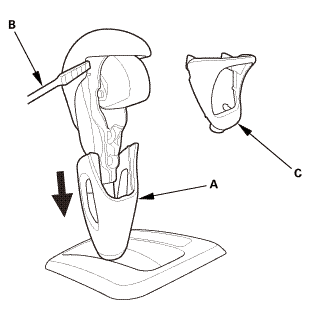
NOTE: Do not wipe off the special grease applied to the area of the shift lever marked with an asterisk (*) when you disassemble it. |
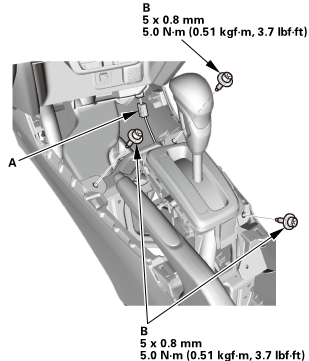
| 1. | Center Console Panel Assembly (Except '12M M/T) |
|
|
|
|
|
|
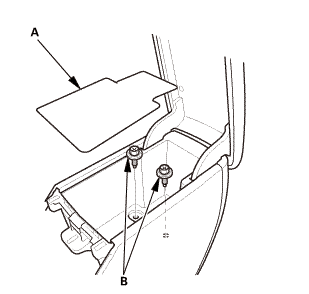
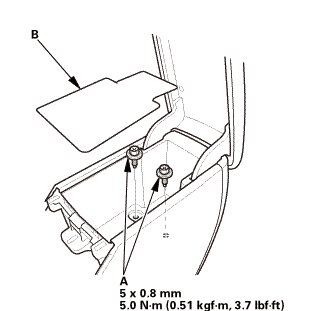
| 2. | Cup Holder Panel Assembly |
|
|
|
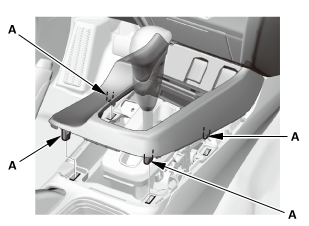
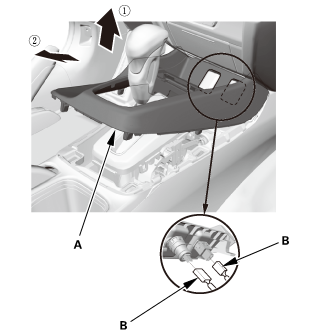
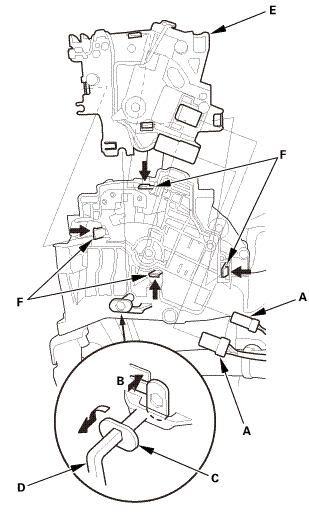
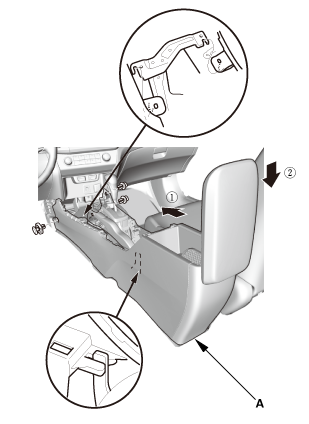
| 3. | Center Console Assembly |
|
|
|
|
|
|
|
|
|
|
|
|

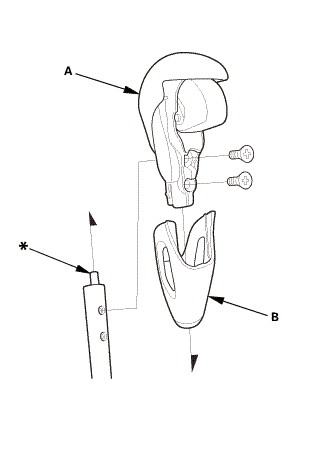
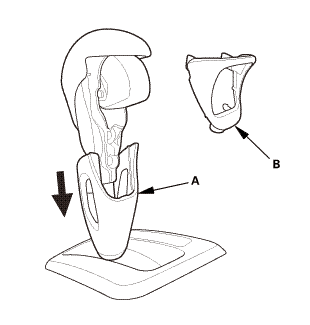
| 4. | Shift Lever Knob and Shift Lever Knob Ring |
|
|
|
|
|
|
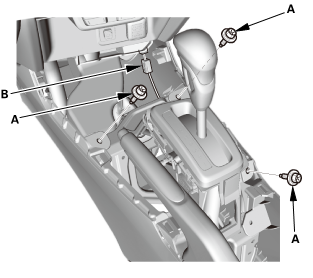
| 5. | A/T Gear Position Indicator Panel Assembly (Type A Shift Lever) |
|
|
|

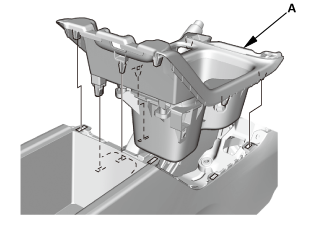
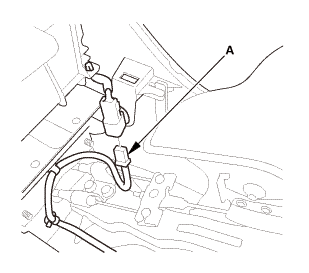
| 6. | Shift Lock Unit Assembly (Type A Shift Lever) |
|
|
|

|
NOTE: Do not wipe off the special grease applied to the area of the shift lever marked with an asterisk (*) when you assemble it. |
| 1. | Shift Lock Unit Assembly (Type A Shift Lever) |
|
|
|
| 2. | A/T Gear Position Indicator Panel Assembly (Type A Shift Lever) |
|
|
|
| 3. | Shift Lever Knob and Shift Lever Knob Ring |
|
1. |
Install the shift lever knob (A) and the shift lever ring (B). |
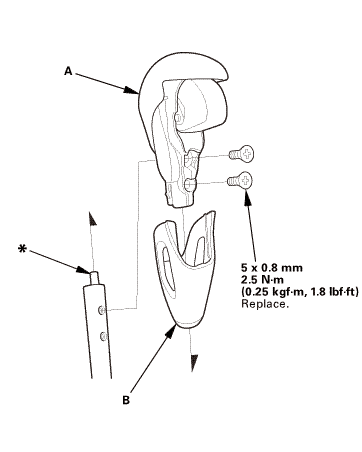 mm
mm
|
|
|
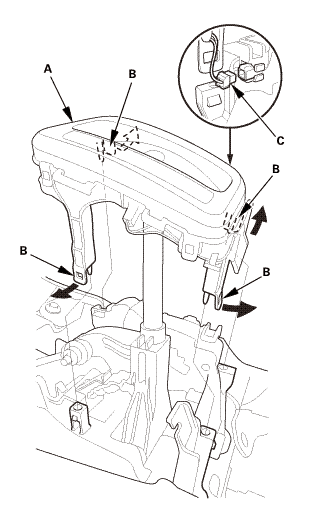
| 4. | Center Console Assembly |
|
|
|
|
|
|
|
|
|
|
|
|
 mms.n
mms.n| 5. | Cup Holder Panel Assembly |
|
|
|
| 6. | Center Console Panel Assembly (Except '12M M/T) |
|
|
|

|
|
|

 Input Shaft (Mainshaft) Speed Sensor Removal and Installation (A/T)
2181D8
Removal
1.
Air Cleaner
1.
Disconnect the intake air duct (A).
...
See also:
Honda Civic Owners Manual. Childproof Door Locks
The childproof door locks prevent the rear doors from being opened from the
inside
regardless of the position of the lock tab.
Setting the Childproof Door Locks
Slide the lever in the rear door to the lock
position, and close the door.
When opening the door
Open the door using the outsid ...
