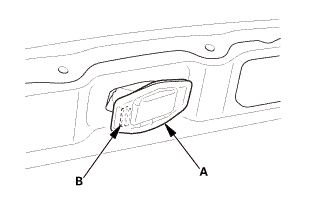
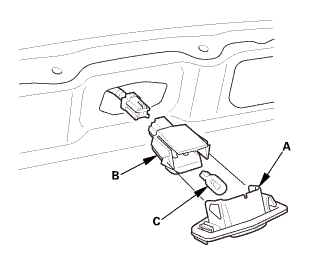
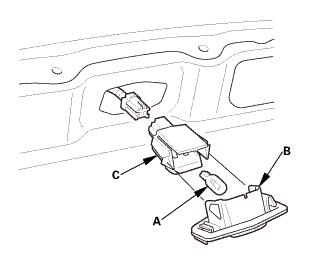
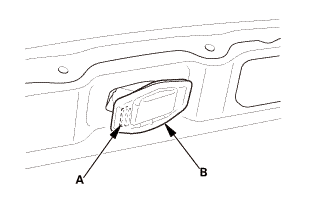
Honda Civic Service Manual: License Plate Light Removal and Installation - Double Lights ('13-'14: 4-door)

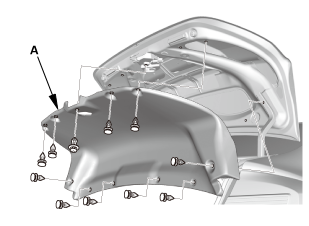
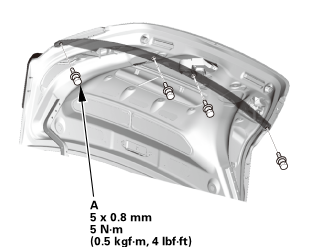
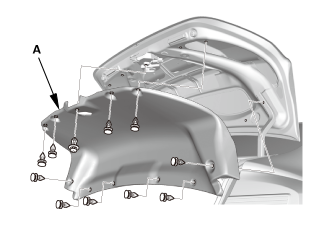
| 1. | Trunk Lid Trim Panel |
|
|
|
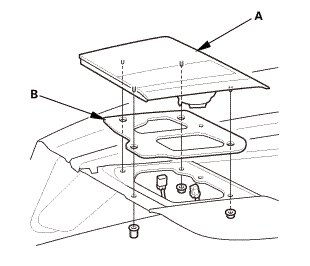
| 2. | Inner Taillight Both |
|
|
|
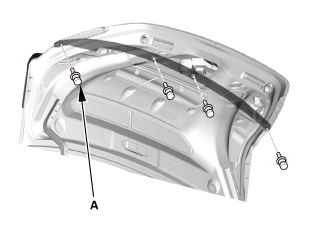
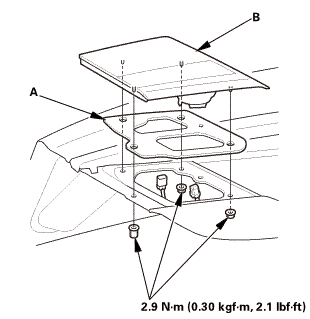
| 3. | Rear License Trim |
|
|
|
|
|
|
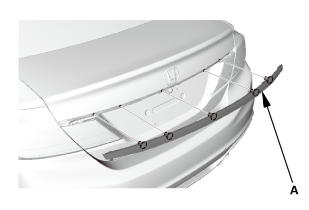
| 4. | License Plate Light |
|
|
|
|
|
|

| 1. | License Plate Light |
|
|
|
|
|
|
| 2. | Rear License Trim |
|
|
|
|
|
|
| 3. | Inner Taillight Both |
|
|
|
||||||||||||
| 4. | Trunk Lid Trim Panel |
|
|
|
 License Plate Light Removal and Installation (2-door)
Removal
1.
License Plate Light Assembly
1.
Push the license pl ...
 Moonroof Drain Channel Removal and Installation (4-door)
8141D0
Removal
1.
Moonroof Link Cover Both
1.
Remove th ...
See also:
Honda Civic Owners Manual. About Your Audio System
The audio system features AM/FM radio and SiriusXM’ Radio service*. It can
also
play USB flash drives, and iPod, iPhone and Bluetooth’ devices.
You can operate the audio system from the buttons and switches on the panel, the
remote controls on the steering wheel, or the icons on the touch ...

