Honda Civic Service Manual: Windshield Removal and Installation
831120

Removal
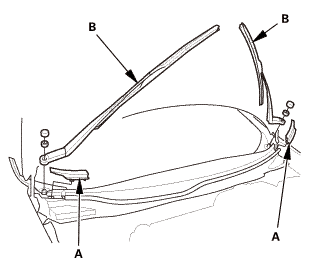
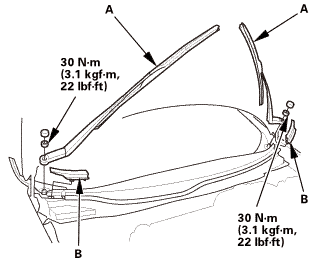
| 1. | Wiper Arm Assembly |
|
|
|
| 2. | Both Side Cowl Covers |
|
|
|
| 3. | Center Cowl Cover |
|
|
|
| 4. | Front Door Opening Seal As Needed Both |
|
|
|

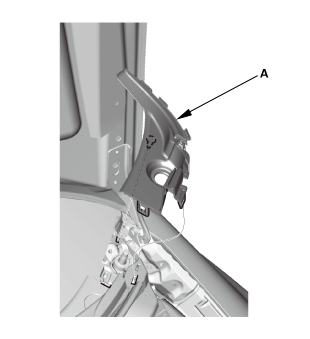
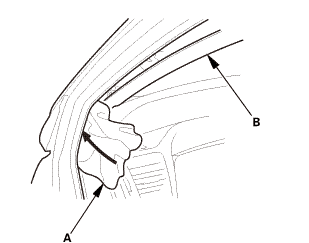
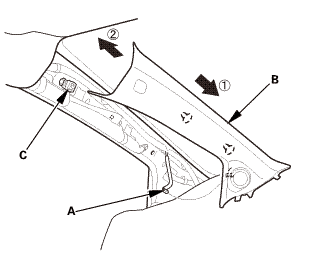
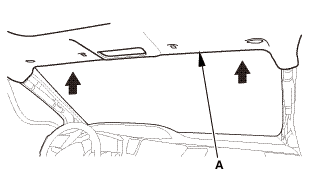
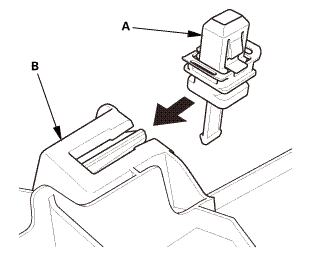
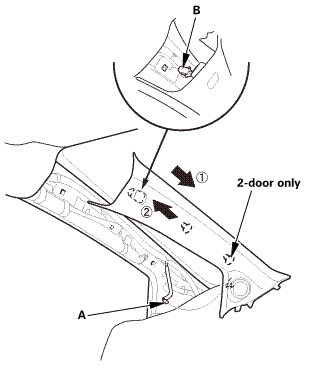
| 5. | A-Pillar Trim Both |
|
|
|
|
|
|
|
|
|
||||||
|
|
|
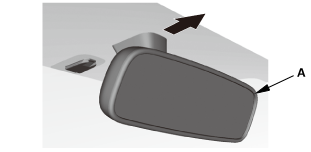
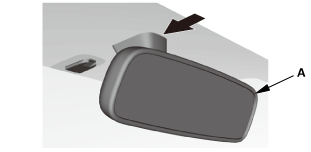
| 6. | Rearview Mirror |
|
|
|
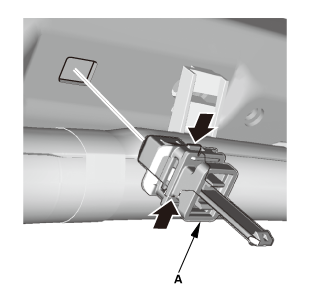
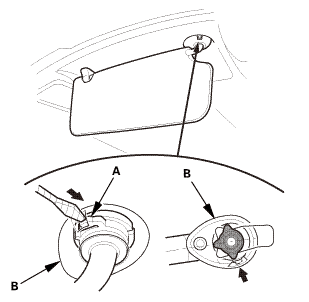
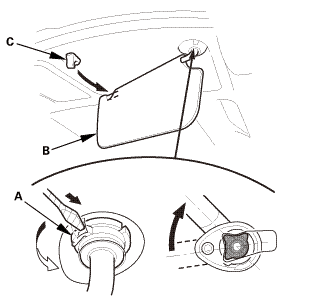
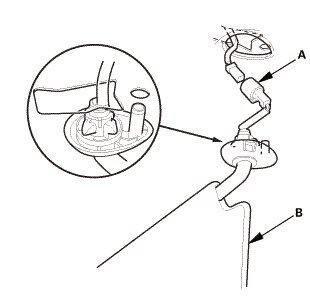
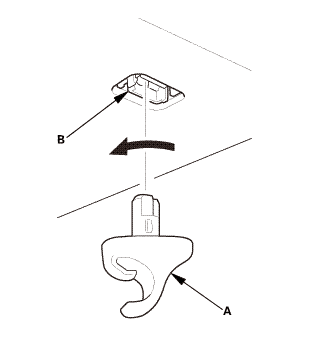
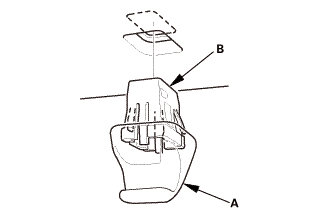
| 7. | Both Sunvisors |
|
|
|
||||||
|
|
|
||||||
|
|
|
||||||
|
|
|
|
|
|

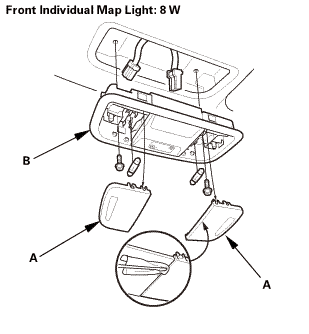
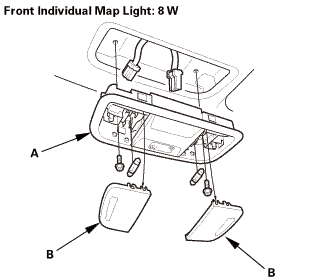
| 8. | Front Individual Map Light (without moonroof) |
|
|
|
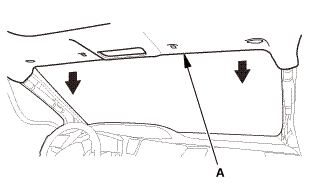
| 9. | Headliner As Needed - Front Side |
|
|
|
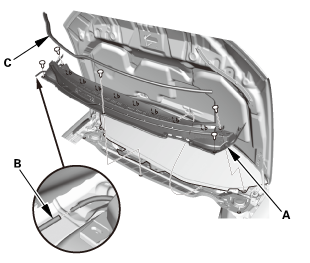
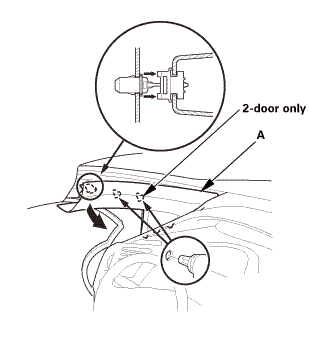
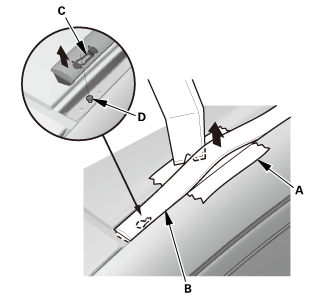
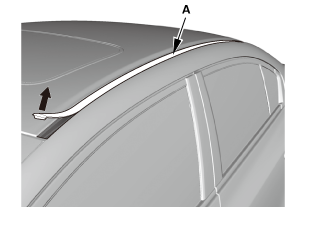
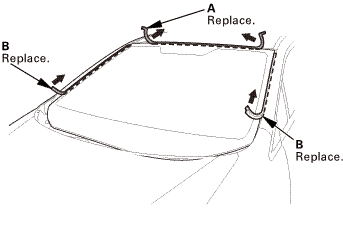
| 10. | Roof Molding Both |
|
|
|
|
|
|
|
|
|
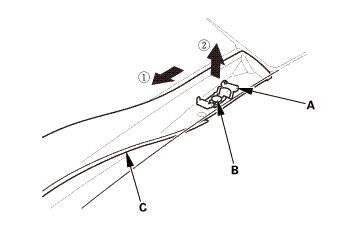
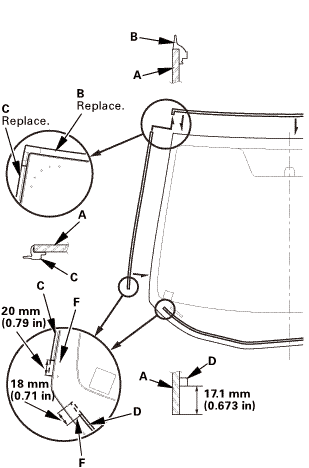
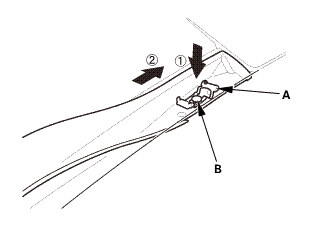
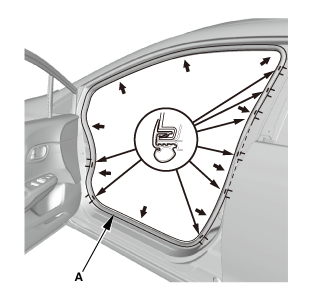
| 11. | Windshield |
|
|
|
|
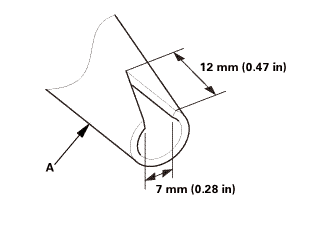
Cutting positions
|
|

Installation
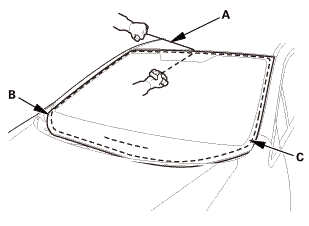
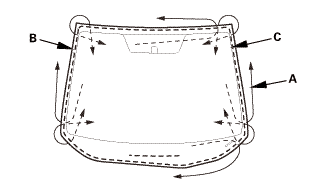
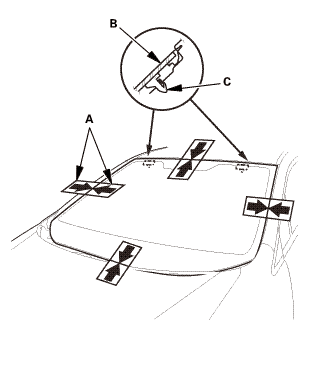
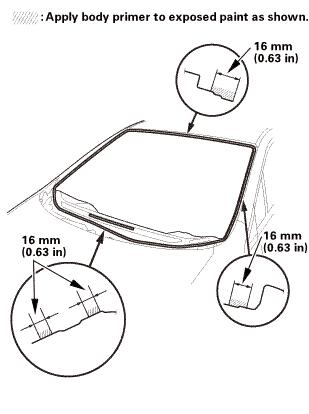
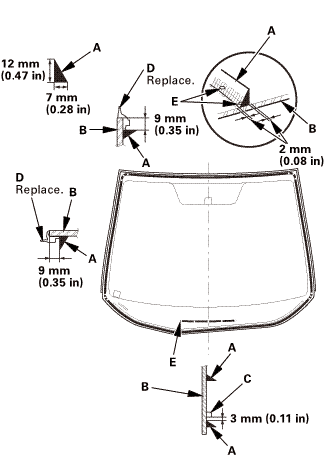
| 1. | Windshield |
|
2-door
4-door
|
|
||||||||||||||||||||||||||||||||||
 mmin!
mmin!
|
|
|
|||||||||||||||||
|
|
|
||||||||||||||||||||||
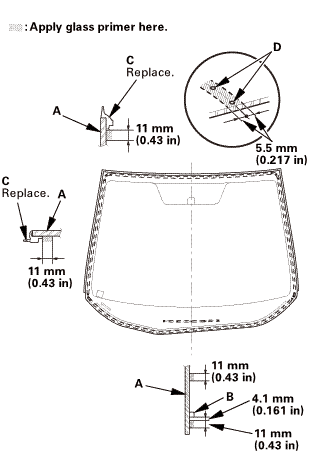 replace......(n.2i7am......m)
|
|
|
||||||||||||||||||||||
 n-im15mm(n.s2mlnunin)..
|
|
|
 mm(n.nammm
|
|
|
|||||||||||||||||||||||||||||||||||||||||||||||
 mmumin)
| 2. | Roof Molding Both |
|
|
|
|
|
|

|
|
|

|
|
|
| 3. | Headliner As Needed - Front Side |
|
|
|
| 4. | Front Individual Map Light (without moonroof) |
|
|
|
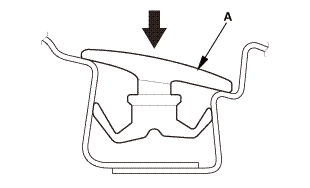
| 5. | Both Sunvisors |
|
|
|
|
|
|
|
|
|
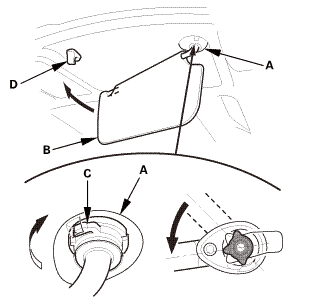
| 6. | Rearview Mirror |
|
|
|
| 7. | A-Pillar Trim Both |
|
|
|
|
|
|
||||||||||||||||||||||||||||||
| 8. | Front Door Opening Seal as Needed Both |
|
|
|
| 9. | Center Cowl Cover |
|
|
|

| 10. | Both Side Cowl Covers |
|
|
|
| 11. | Wiper Arm Assembly |
|
|
|
 1.122
1.122| 12. | Water Leak Test |
|
|
|
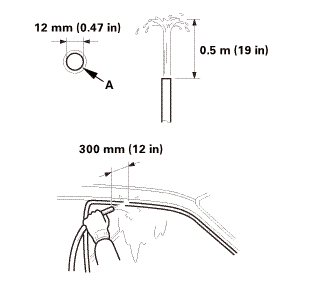 12mmznamm(12in)
| 13. | Wiper Arm/Nozzle - Adjustment |

|
|||
|
|
1. |
Turn the ignition switch to ON (II), then turn the wiper switch ON, and then back OFF. |
|
2. |
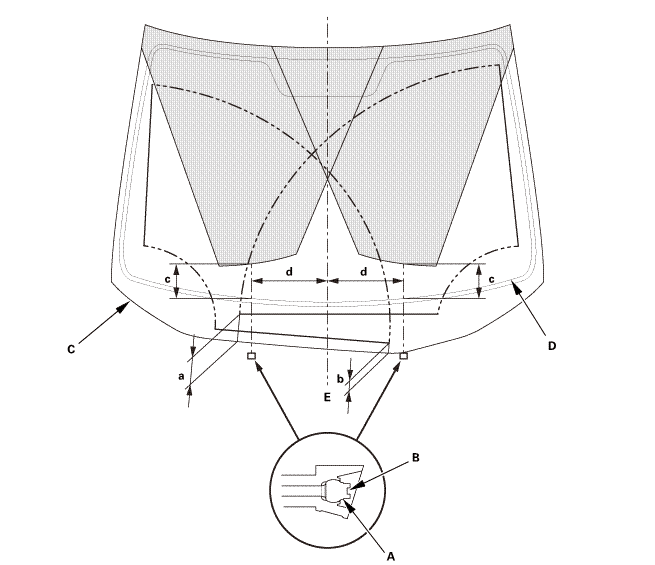
When the wiper arms stop at the auto-stop position, make sure that they are at the correct position: |
|||||||||||||||||||||||||||
|
||||||||||||||||||||||||||||
|
3. |
When you turn on the washer(s), make sure 50 % or more of the washer fluid lands within the spray area. If the spray area is not within the standard positions, adjust the nozzle(s): |
|||||||||||||||||||||||||||
|
||||||||||||||||||||||||||||
 Windshield
...

See also:
Honda Civic Owners Manual. Maintaining Genuine Leather
To properly clean leather:
Use a vacuum or soft dry cloth first to remove any dirt or dust.
Clean the leather with a soft cloth dampened with a solution
comprised of 90%
water and 10% neutral soap.
Wipe away any soap residue with a clean damp cloth.
Wipe away r ...
