Honda Civic Service Manual: Intake Air Resonator Removal and Installation ('12-'13: K24Z7, '14: 4-door K24Z7)
1211T1

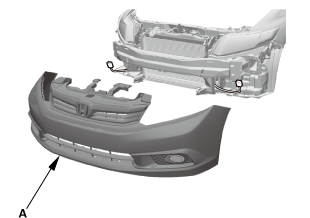
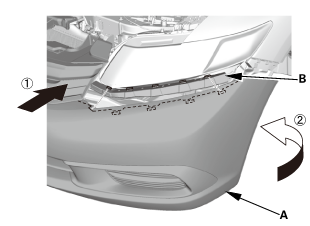
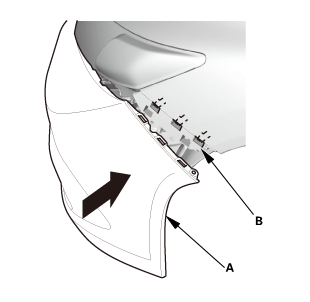
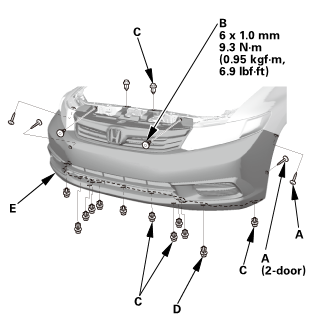
| 1. | Front Bumper |
|
|
|
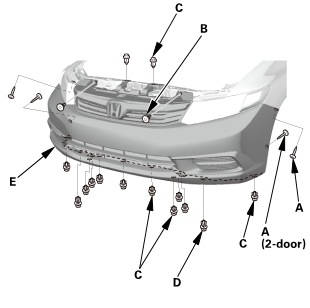
|
|
|
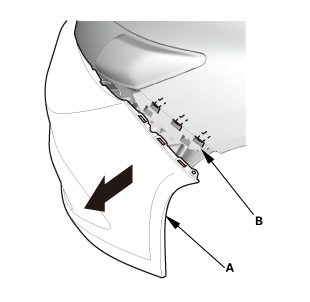
|
|
|
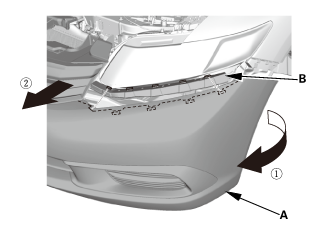
|
|
|
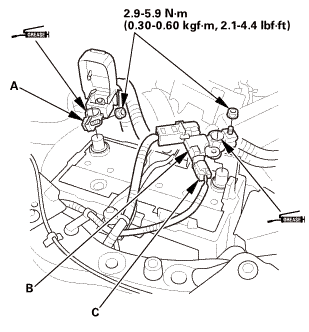
| 2. | Battery Terminal - Disconnection |
|
|
|
|||||||||||||||||||||||||||
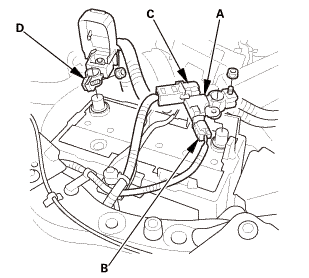

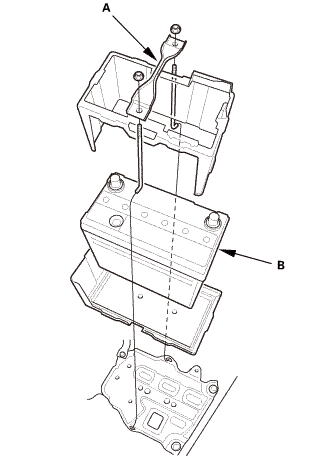
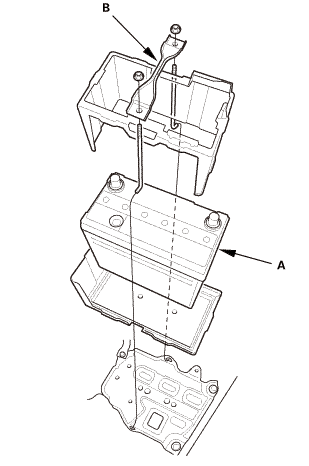
| 3. | Battery |
|
|
|
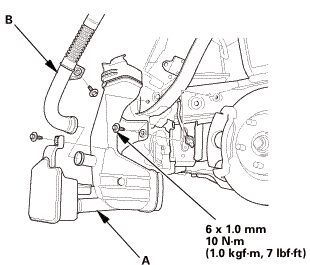
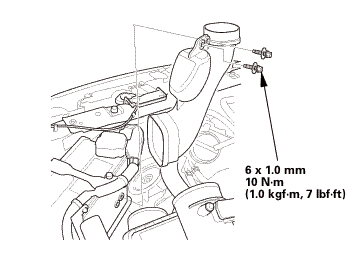
| 4. | Intake Air Resonator Assembly |
|
|
|
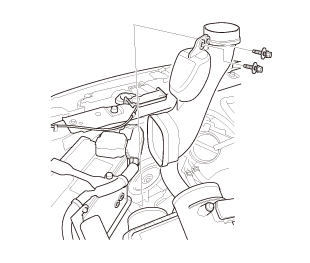
|
|
|

| 1. | Intake Air Resonator Assembly |
|
|
|
|
|
|
| 2. | Battery |
|
|
|
||||||
| 3. | Battery Terminal - Reconnection |
|
|
|
|||||||||||||||||||
| 4. | Front Bumper |
|
|
|
|
|
|
|
|
|
|
|
|
 Horn Removal and Installation - Low ('12-'13, '14: 4-door)
7111A2
1.
Front Grille Cover
1.
Remove the front grille cover ...
 License Plate Light Removal and Installation (2-door)
Removal
1.
License Plate Light Assembly
1.
Push the license pl ...
See also:
Honda Civic Owners Manual. Automatic Lighting Off Feature
The headlights, all other exterior lights, and the instrument panel lights
turn off 15
seconds after you remove the key or set the power mode to VEHICLE OFF (LOCK),
take the remote with you, and close the driver’s door.
You can change the headlight auto off timer setting.
Customized Features ...
