Honda Civic Service Manual: Front Passenger's Weight Sensor Removal and Installation ('13-'14: 2-door)

|
SRS components are located in this area. Review the SRS component locations and the precautions and procedures before doing repairs or service. |
|
NOTE: The front passenger's weight sensor is part of the seat frame and must be replaced as an assembly. |
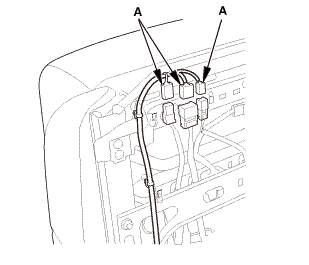
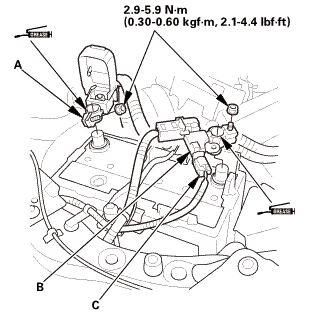
| 1. | Battery Terminal (SRS) - Disconnection |
|
|
|
||||||||||||||||||||||||||||||


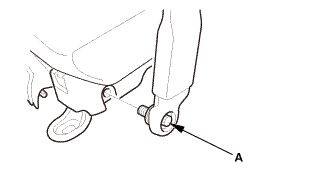
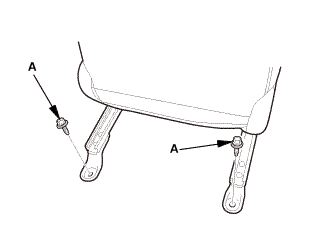
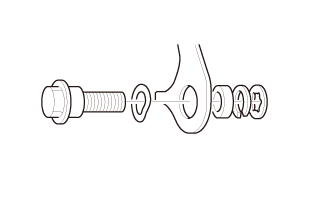
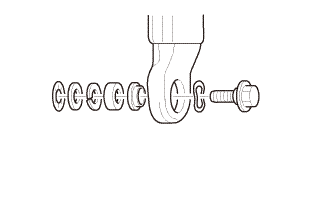
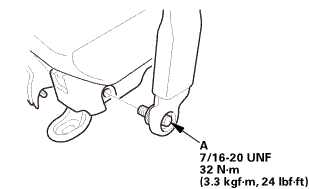
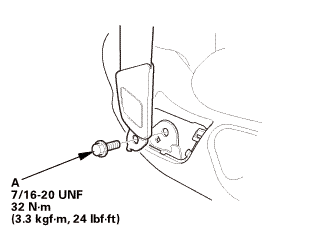
| 2. | Front Seat Belt Lower Anchor - Passenger's Side |
|
|
|
|
|
|
|
|
|
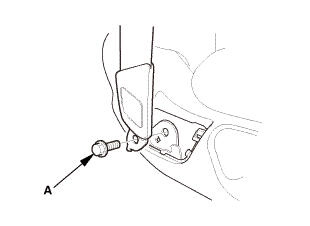
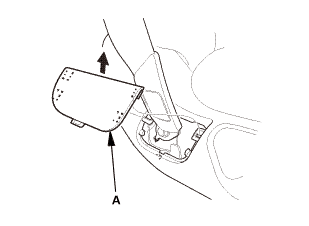
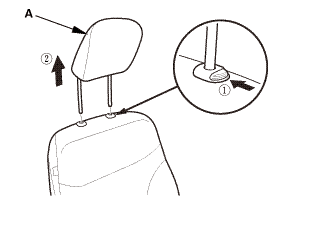
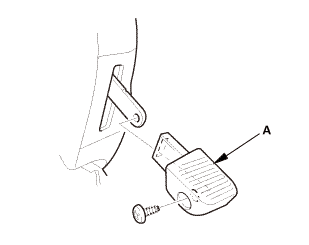
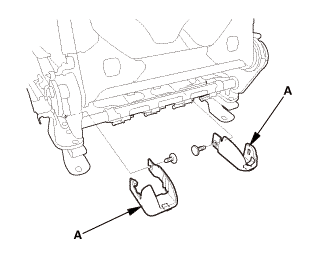
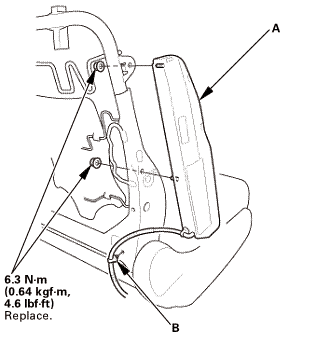
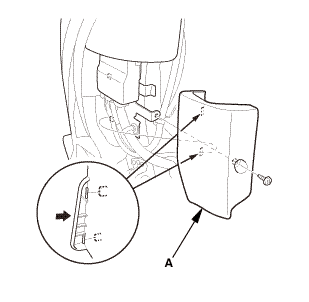
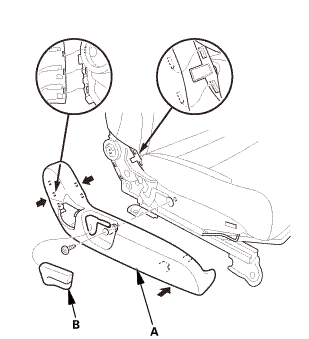
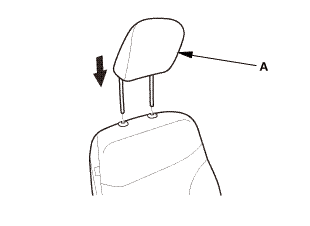
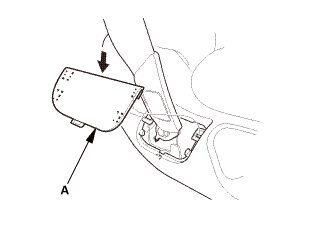
| 3. | Head Restraint - Passenger's Side |
|
|
|
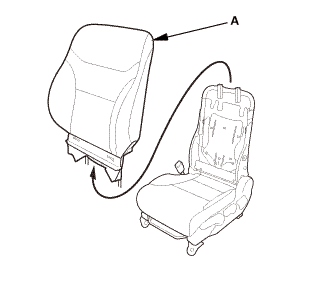
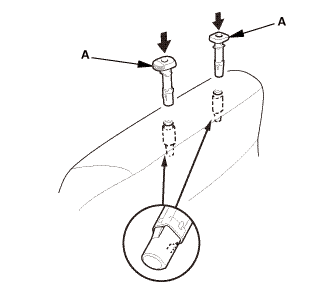
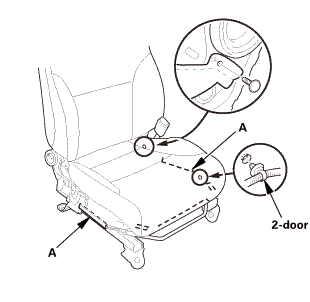
| 4. | Front Seat - Passenger's Side |
|
2-door
4-door
|
|
|
|
|
|
|
|
|
|
|
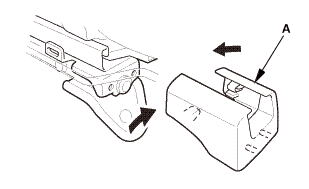
| 5. | Front Seat Recline Cover - Passenger's Side |
|
|
|
|
|
|
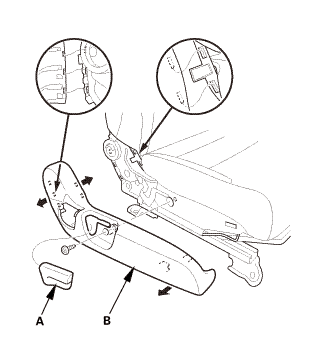
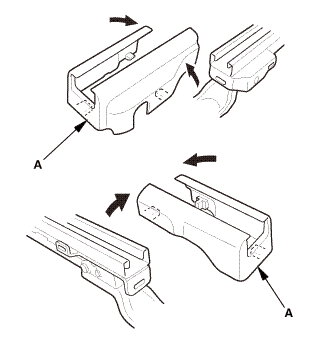
| 6. | Front Seat Center Cover - Passenger's Side |
|
|
|
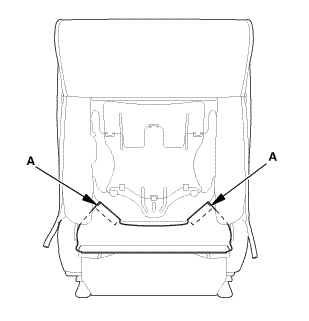
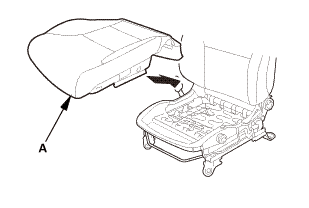
| 7. | Front Seat Cushion - Passenger's Side |
|
2-door
4-door
|
|
|
|
|
|
|
|

|
|
|
|
|
|
|
|
|

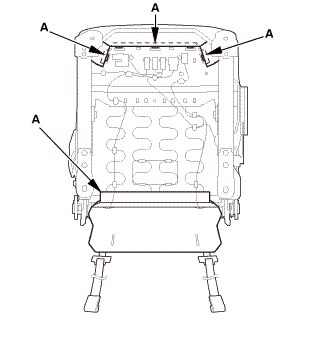
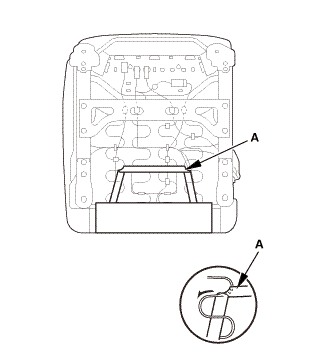
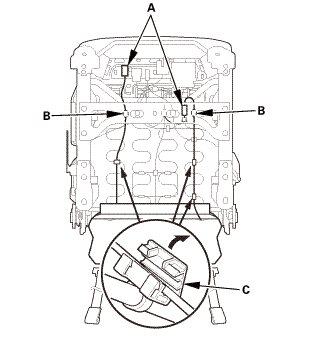
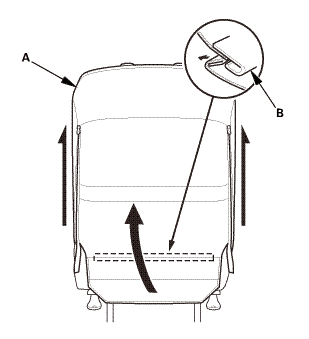
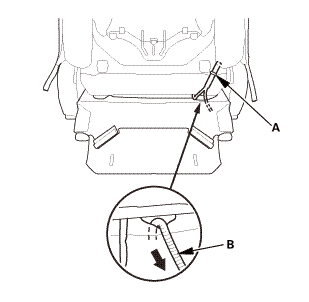
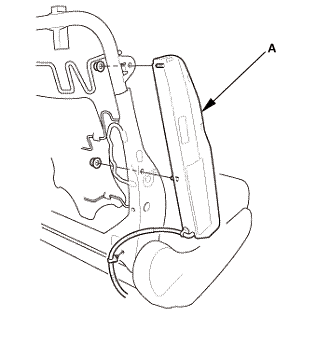
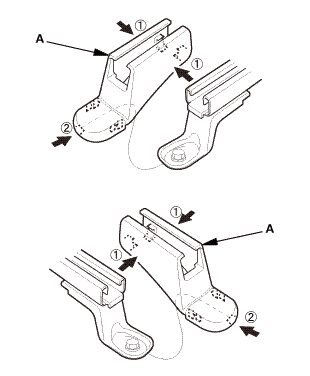
| 8. | Front Seat-Back as Needed - Passenger's Side |
|
2-door
4-door
|
|
|
2-door
4-door
|
|

|
|
|
|
|
|
|
|
|
|
|
|
|
|
|
|
|
|
|
|
|

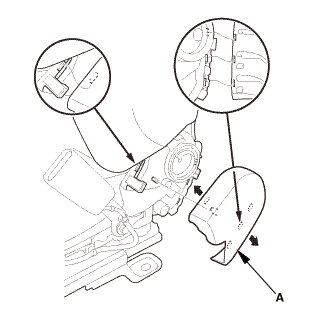
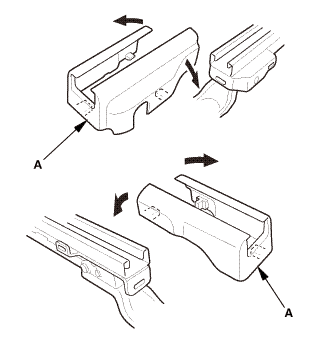
| 9. | Head Restraint Guide - Passenger's Side |
|
|
|
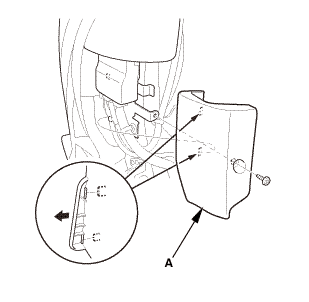
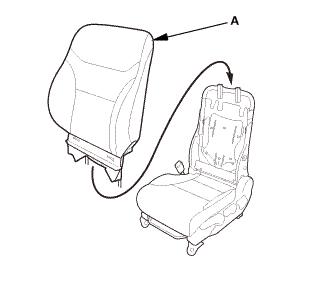
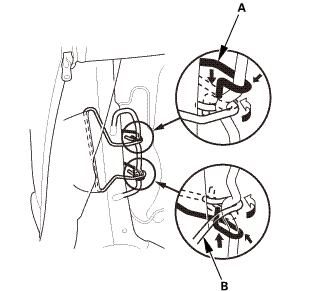
| 10. | Front Seat-Back Cover/Pad - Passenger's Side |
|
|
|
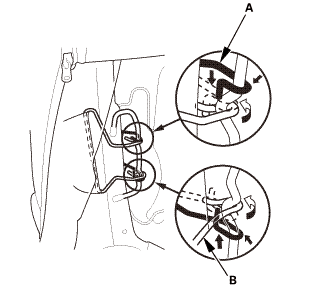
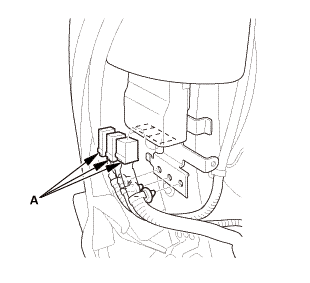
| 11. | Side Airbag |
|
|
|
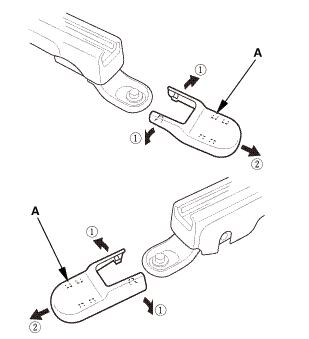
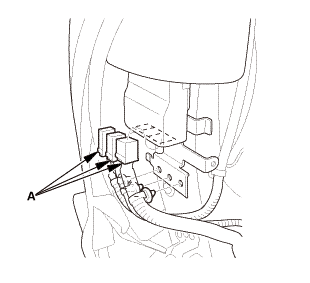
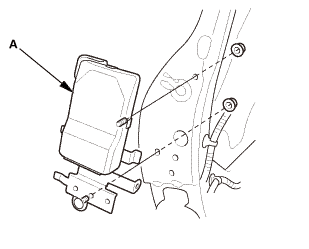
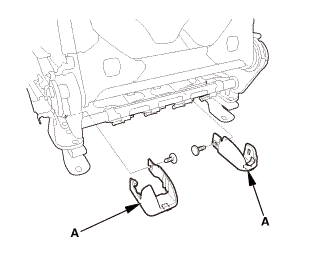
| 12. | Front Passenger's Weight Sensor Unit |
|
|
|
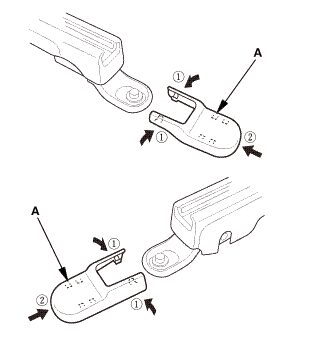
| 13. | Front Seat Belt Buckle - Passenger's Side |
|
|
|
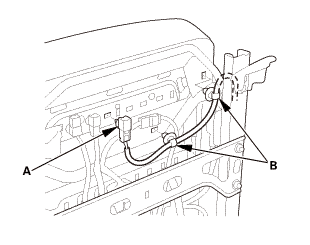
|
|
|
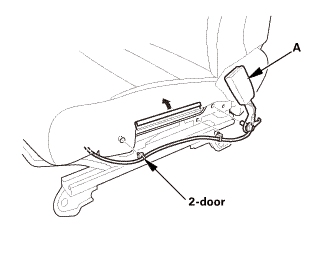
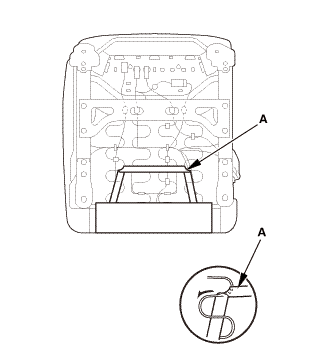
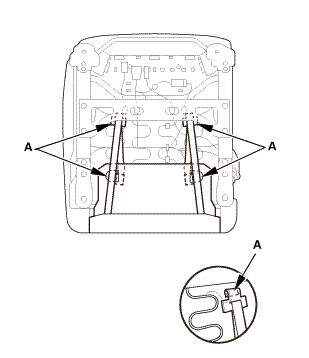
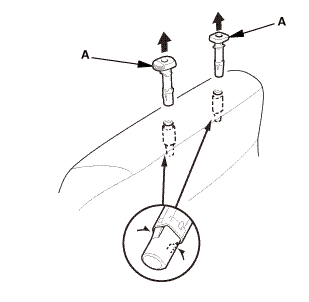
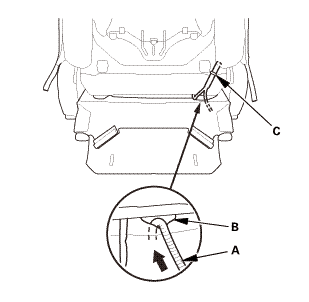
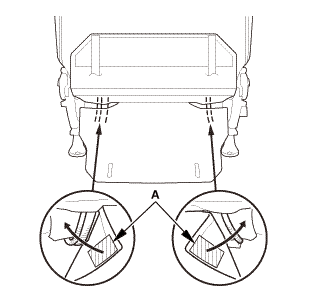
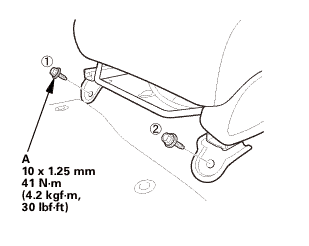
| 14. | Front Seat Frame - Passenger's Side |
|
|
|
|
|
|
|
|
|

|
|
|
|
2-door
4-door
|
|
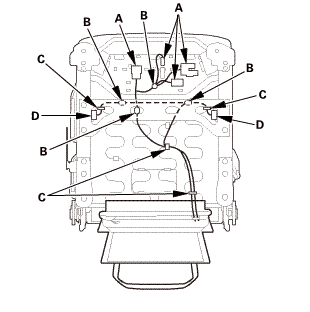
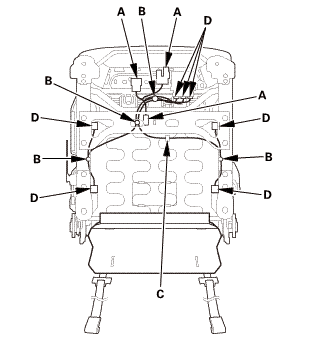
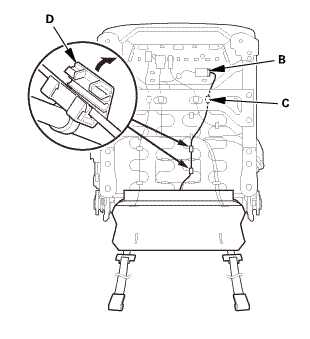
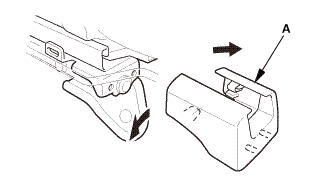
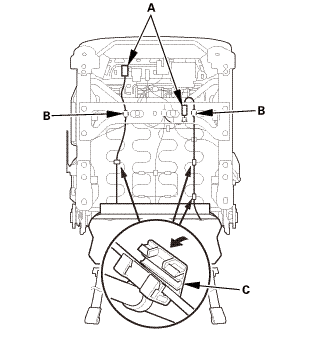
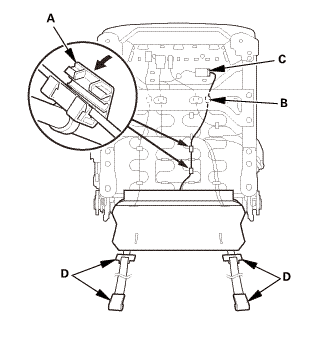
| 15. | Front Passenger's Seat Frame/Front Passenger's Weight Sensors |
|

|
SRS components are located in this area. Review the SRS component locations and the precautions and procedures before doing repairs or service. |
|
NOTE: |
|
|||
|
| 1. | Front Passenger's Seat Frame/Front Passenger's Weight Sensors |
|
| 2. | Front Seat Frame - Passenger's Side |
|
2-door
4-door
|
|
|
|
|
|
|
|
|
|
|
|
|
|
| 3. | Front Seat Belt Buckle - Passenger's Side |
|
|
|
|||||||||||||||||
|
|
|
 nounr:2mmin
|
|
|
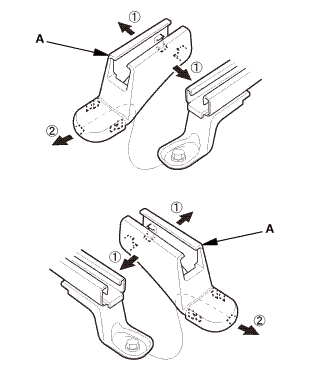
| 4. | Front Passenger's Weight Sensor Unit |
|
|
|
 kvf-m,
| 5. | Side Airbag |
|
|
|
| 6. | Front Seat-Back Cover/Pad - Passenger's Side |
|
|
|
| 7. | Head Restraint Guide - Passenger's Side |
|
|
|
| 8. | Front Seat-Back As Needed - Passenger's Side |
|
|
|

|
|
|
|
|
|
|
|
|
|
|
|
|
|
|
|
|
|

|
2-door
4-door
|
|

|
2-door
4-door
|
|
| 9. | Front Seat Cushion - Passenger's Side |
|
|
|
|
|
|

|
|
|
|
|
|
|
|
|
| 10. | Front Seat Center Cover - Passenger's Side |
|
|
|

| 11. | Front Seat Recline Cover - Passenger's Side |
|
|
|
|
|
|
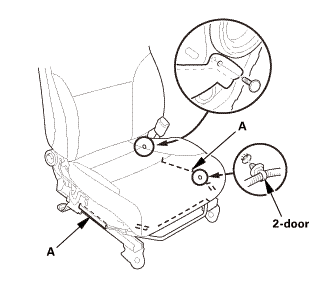
| 12. | Front Seat Assembly - Passenger's Side |
|
|
|
|
Front side
Rear side
|
|
|||||||||||||||||
 mmu....in
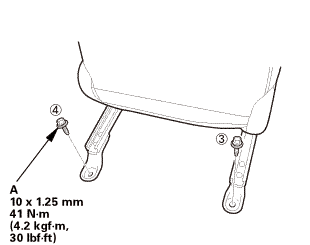
|
2-door
4-door
|
|
| 13. | Head Restraint - Passenger's Side |
|
|
|
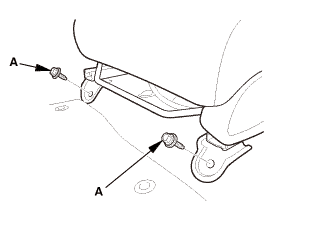
| 14. | Front Seat Belt Lower Anchor - Passenger's Side |
|
|
|
|||||||
 @@
@@
|
|
|
 7/m2onm
|
|
|
 um22nmin
|
|
|
| 15. | Battery Terminal (SRS) - Reconnection |
|
|
|
|||||||||||||||||||
 (o.2ao.sam.
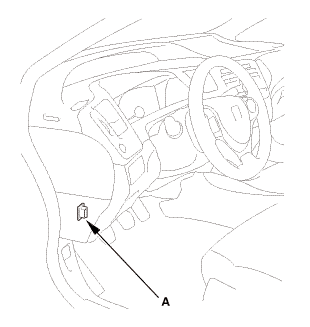
| 16. | HDS DLC - Connection |
|
|
|
| 17. | DTC - Clear |
|
| 18. | Front Passenger's Weight Sensor - Initialize |
|
| 19. | Front Passenger's Weight Sensor Unit - Operation Check |
|
| 20. | Confirm Proper SRS Operation |
|
 Front Grille Removal and Installation ('12, '13: 2-door, '14: 4-door)
1.
Front Bumper
1.
Remove the screws (A), the bolts (B), and the c ...
 Front Passenger's Weight Sensor Unit Removal and Installation ('13-'14:
4-door)
Front Passenger's Weight Sensor Unit Removal and Installation ('13-'14:
4-door)
SRS components are located in this area. Review the SRS component
locations and the precautions and procedures before doing repairs
or service.
...
See also:
Honda Civic Owners Manual. Synchronized Mode
You can set the temperature synchronously for the driver’s side and the
passenger’s
side in synchronized mode.
1. Press the SYNC button.
The system switches to synchronized mode.
2. Adjust the temperature using the driver’s side temperature control dial.
Press the SYNC button ...
