
Honda Civic Service Manual: Trunk Light Removal, Installation, and Test
7211A0

Removal
| 1. | Trunk Light |
|
|
|
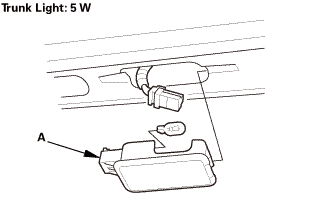 tmnklight:
 Test
Test
| 1. | Trunk Light - Test |
|
|
|
|||||||||||||||||||
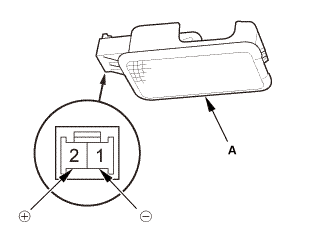
 )
and No. 2 (
)
and No. 2 ( ).
If there is no continuity, check the bulb. Is the bulb is OK, replace
the trunk light (A):
).
If there is no continuity, check the bulb. Is the bulb is OK, replace
the trunk light (A):
 )
on the digital volt/ohm meter to check the diode
bias.
)
on the digital volt/ohm meter to check the diode
bias.

Installation
| 1. | Trunk Light |
|
|
|
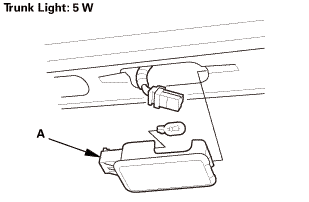
 Front Individual Map Light Removal, Installation, and Test (Without Moonroof)
Removal
1.
Front Individual Map Light (without moonroof)
1.
Turn the front individual map light switch OFF.
...

See also:
Honda Civic Owners Manual. Opening/Closing Windows without Auto-Open/Close Function
To open: Push the switch down.
To close: Pull the switch up.
Release the switch when the window reaches
the desired position.
Opening Windows and Moonroof* with the Remote
To open: Press the unlock button, and then
within 10 seconds, press it again and hold it. If
the windows and ...
