Honda Civic Service Manual: ODS Unit Removal and Installation (KA KC KL models)
7521B5

Removal
|
NOTE: SRS components are located in this area. Review the SRS component locations and the precautions and procedures before doing repairs or service. |
| 1. | Battery Terminal (SRS) - Disconnection |
|
|
|
|||||||||||||||
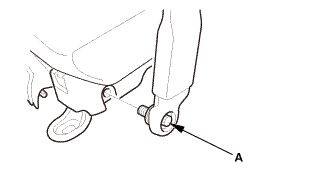
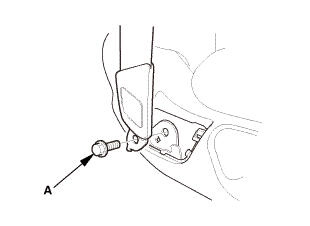
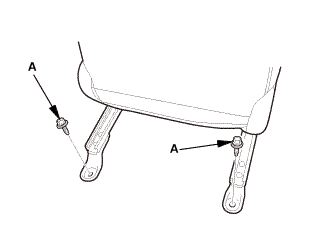
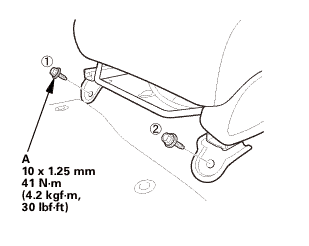
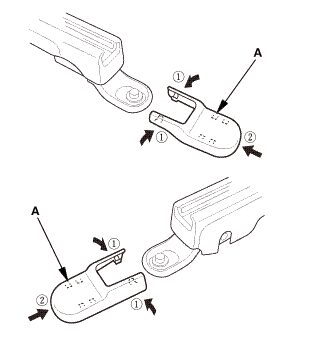
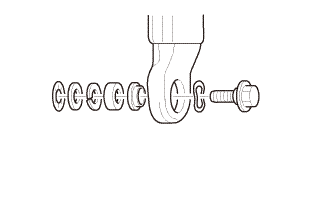
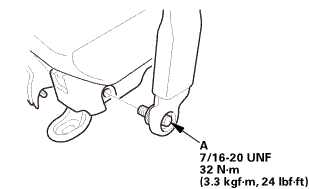
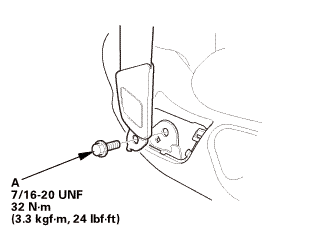
| 2. | Front Seat Belt Lower Anchor Bolt - Passenger's Side |
|
|
|
|
|
|
|
|
|
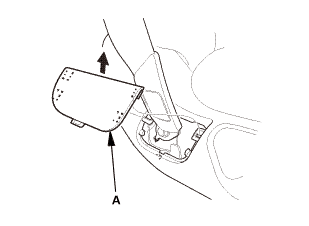
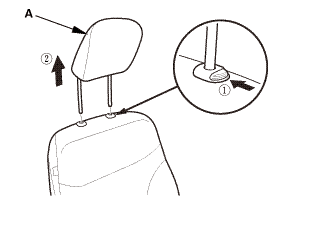
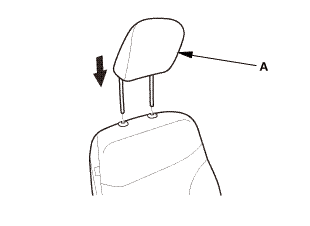
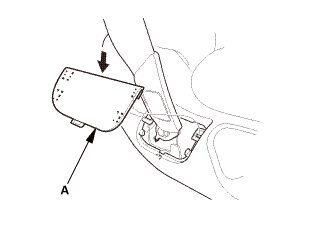
| 3. | Head Restraint - Passenger's Side |
|
|
|
| 4. | Front Seat - Passenger's Side |
|
2-door
4-door
|
|
|
|
|
|
|
|
|
|
|
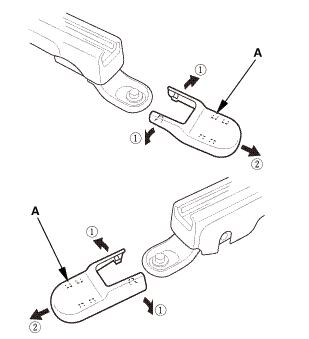
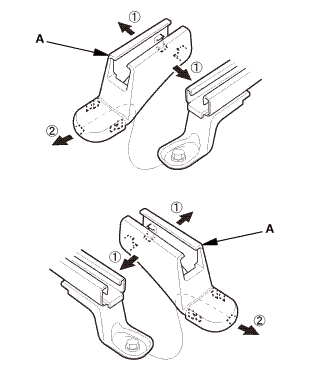
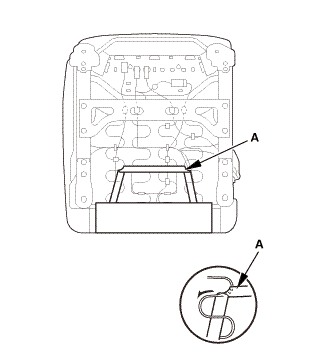
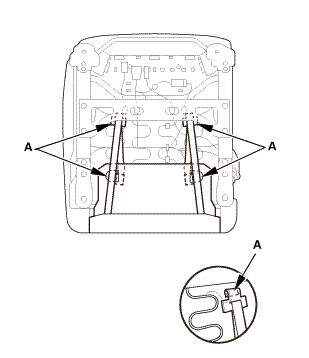
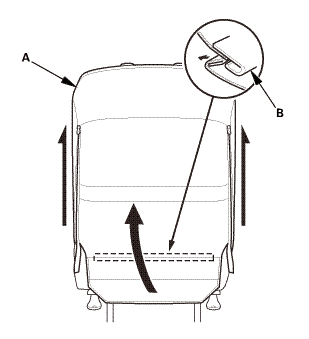
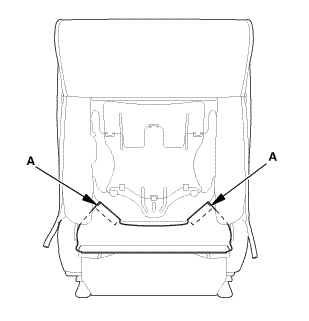
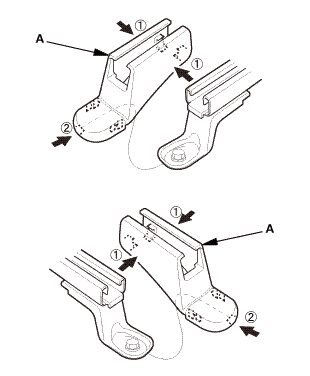
| 5. | Front Seat-Back As Needed - Passenger's Side |
|
2-door
4-door
|
|
|
|
|
|
|
|
|
|
|
|
|
|
|
|
|
|
|
|
|
|
|
|
|
|

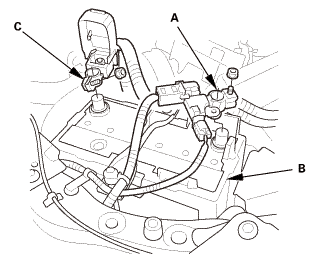
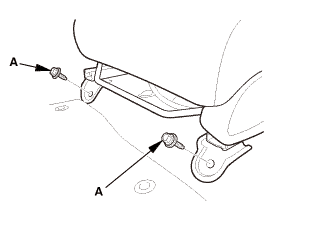
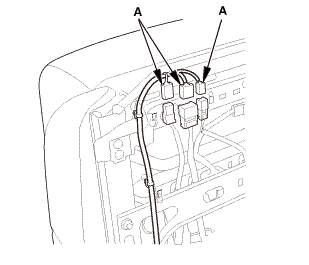
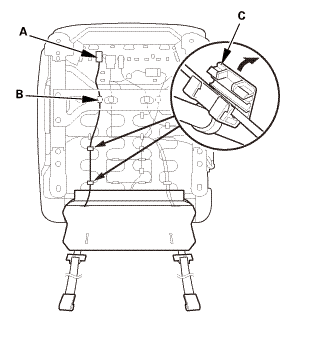
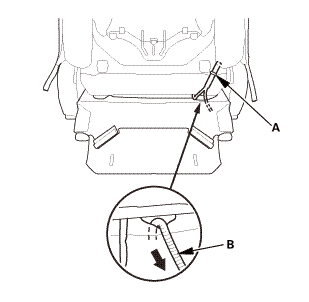
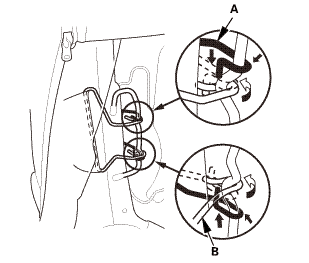
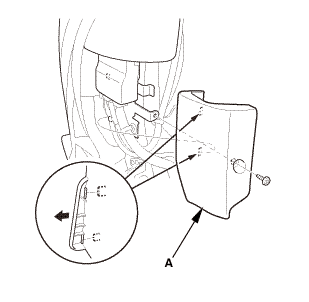
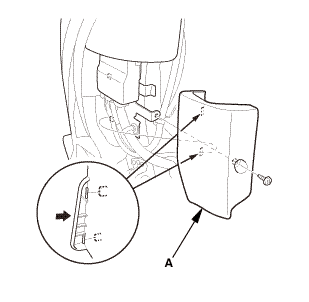
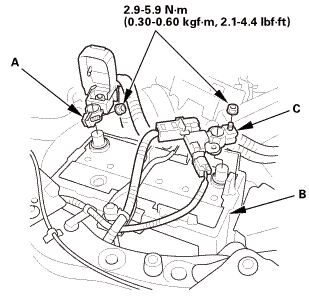
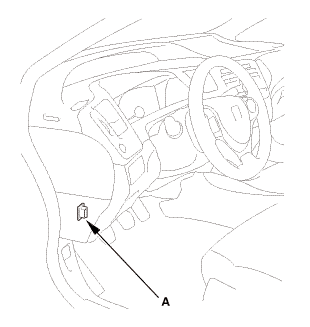
| 6. | ODS UNIT |
|
|
|

Installation
|
NOTE: |
|
|||
|

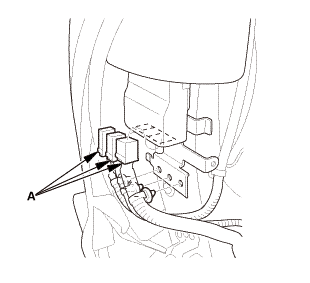
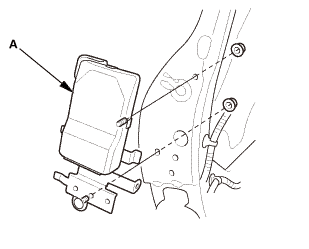
| 1. | ODS UNIT |
|
|
|
 kvf-m,
| 2. | Front Seat-Back As Needed - Passenger's Side |
|
|
|

|
|
|
|
|
|
|
|
|
|
|
|
|
|
|
|
|
|

|
|
|

|
2-door
4-door
|
|
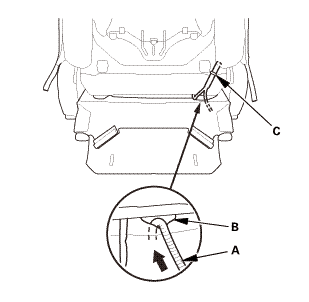
| 3. | Front Seat Assembly - Passenger's Side |
|
|
|
|
Front side
Rear side
|
|
|||||||||||||||||
 mmu....in
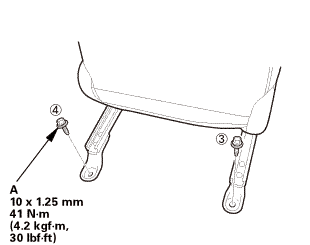
|
2-door
4-door
|
|
| 4. | Head Restraint - Passenger's Side |
|
|
|
| 5. | Front Seat Belt Lower Anchor Bolt - Passenger's Side |
|
|
|
|||||||
 @@
@@|
|
|
 7/m2onm
|
|
|
 um22nmin
|
|
|
| 6. | Battery Terminal (SRS) - Reconnection |
|
|
|
||||||||||||||||
 (o.2ao.sam.
| 7. | HDS DLC - Connection |
|
|
|
| 8. | DTC - Clear |
|
| 9. | OPDS Sensor Initialization |
|
||||||||||||||||||||||||||||||||||||||||
| 10. | Front Passenger's Weight Sensor Initialization |
|
| 11. | Confirm Proper SRS Operation |
|
 ODS Unit Operation Check (KA KC KL models)
Procedure
1.
After Replacing Front Passenger's Seat Component(s)
After Replacing Front Passenger's Seat Component(s)
...

See also:
Honda Civic Owners Manual. Replay Function
The system starts storing broadcast in memory when
the power mode is turned ON. You can go back to
the program from that point.
You can no longer replay any program once the
power mode is turned off as it erases memory.
You can check how long the program has been
stored in memory from the ...
