Honda Civic Service Manual: High Mount Brake Light Removal and Installation - Without Trunk Lid Spoiler (4-door except Natural Gas models)

Removal
|
SRS components are located in this area. Review the SRS component locations and the precautions and procedures before doing repairs or service. |
| 1. | Rear Seat Cushion |
|
|
|
|
|
|
| 2. | Rear Seat-Back (Natural Gas Model) |
|
|
|
|
|
|
|
|
|
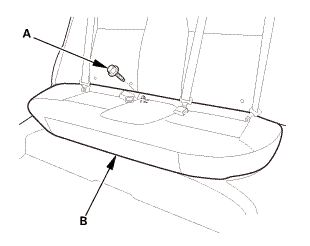
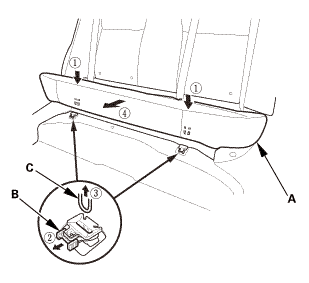
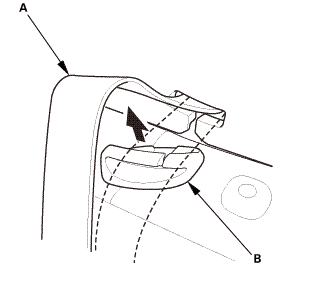
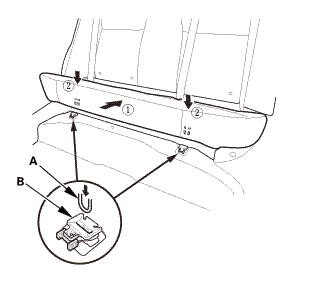
| 3. | Both Rear Seat Side Bolsters |
|
|
|
|
|
|
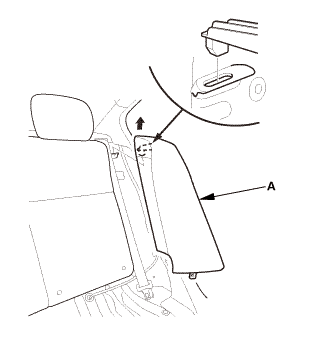
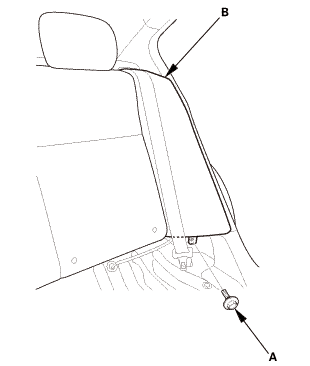
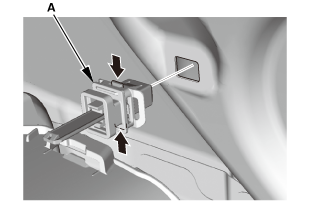
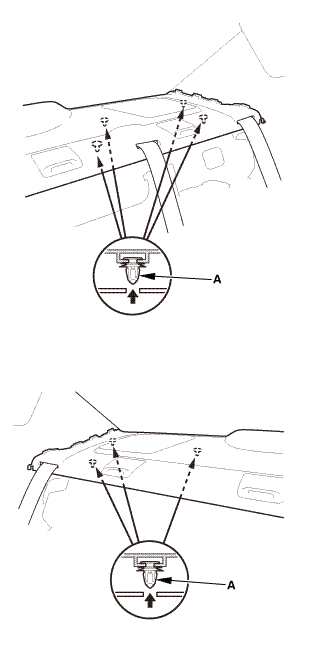
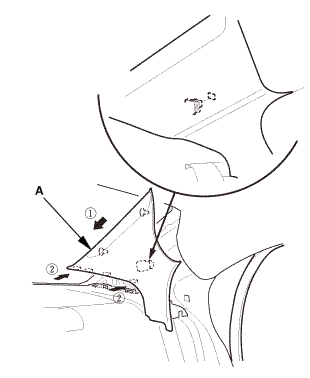
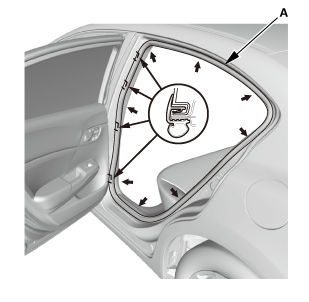
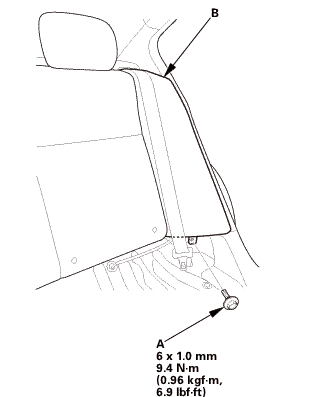
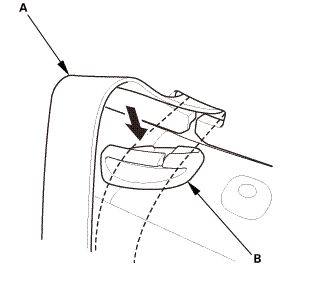
| 4. | Both C-Pillar Trims |
|
|
|
||||||||||||
|
|
|
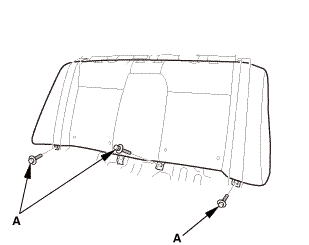
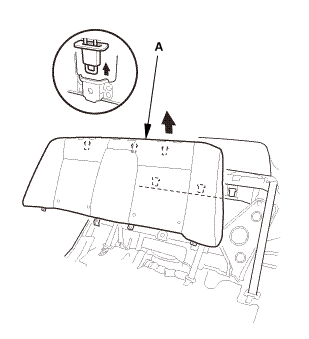
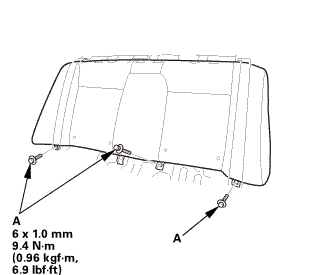
| 5. | Rear Shelf (Natural Gas Model) |
|
|
|
|
|
|
|
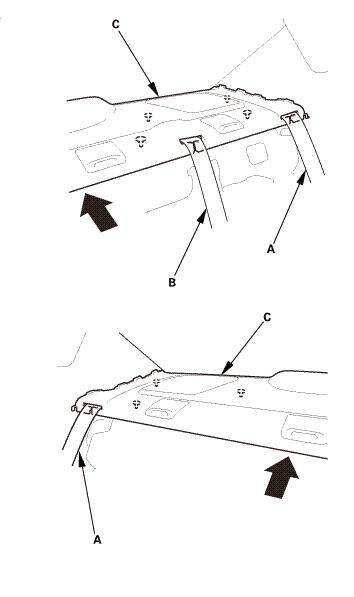
3. |
Pull out both rear seat belts (A) and the rear center seat belt (B) through the slits in the rear shelf trim (C), then remove the rear shelf trim. |

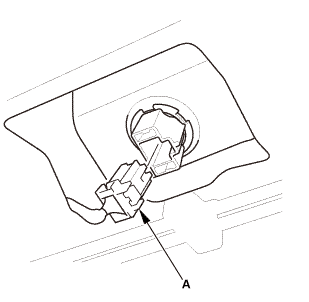
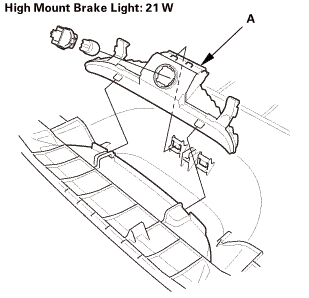
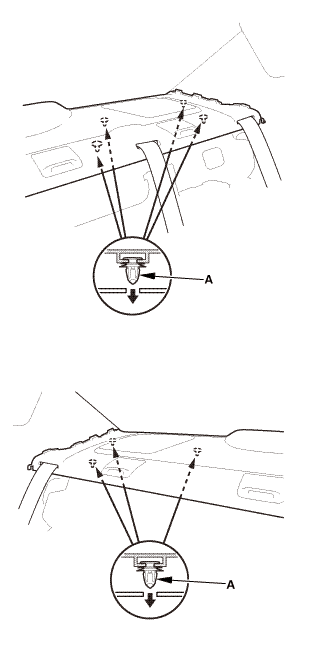
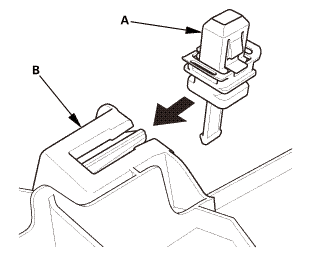
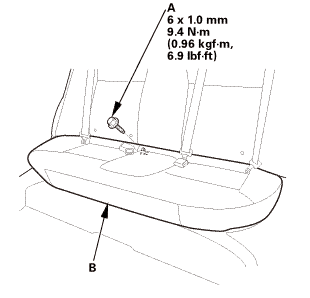
| 6. | High Mount Brake Light |
|
|
|

Installation
|
SRS components are located in this area. Review the SRS component locations and the precautions and procedures before doing repairs or service. |
| 1. | High Mount Brake Light |
|
|
|
| 2. | Rear Shelf (Natural Gas Model) |
|
1. |
Slip the rear seat belts (A) and the rear center seat belt (B) through the slits in the rear shelf trim (C). |
|
|
|
|
|
|
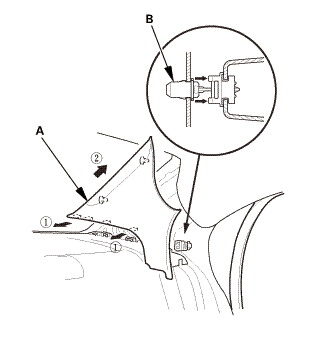
| 3. | Both C-Pillar Trims |
|
|
|
|
|
|
||||||||||||||||||||||||

| 4. | Both Rear Door Opening Seals as Needed |
|
|
|
| 5. | Both Rear Seat Side Bolsters |
|
|
|

|
|
|
 mmmmlnss
| 6. | Rear Seat-Back (Natural Gas Model) |
|
|
|

|
|
|
 m.imim
|
|
|
| 7. | Rear Seat Cushion |
|
|
|
|
|
|
 High Mount Brake Light Removal and Installation - With Trunk Lid Spoiler (2-door)
Removal
1.
High Mount Brake Light
1.
Remove the covers (A).
2.
...
 Fog Lamp
...
See also:
Honda Civic Owners Manual. Childproof Door Locks
The childproof door locks prevent the rear doors from being opened from the
inside
regardless of the position of the lock tab.
Setting the Childproof Door Locks
Slide the lever in the rear door to the lock
position, and close the door.
When opening the door
Open the door using the outsid ...
