Honda Civic Service Manual: Trunk Lid Torsion Bar Removal and Installation (Except Natural Gas models)
8231B8

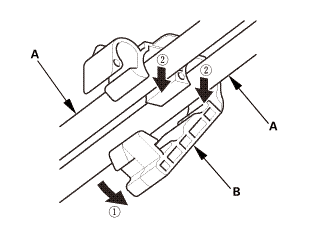
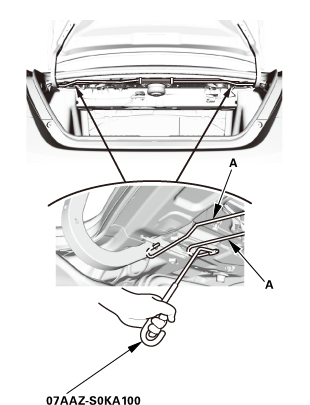
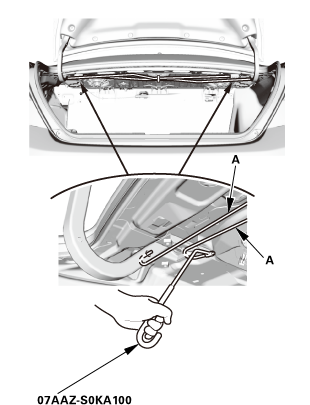
Removal
| 1. | Trunk Lid Torsion Bar |
|
|
|

|
|
|
|
2-door
4-door
|
|
|
|
|
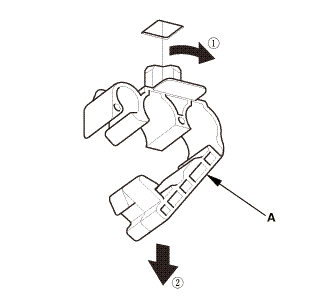

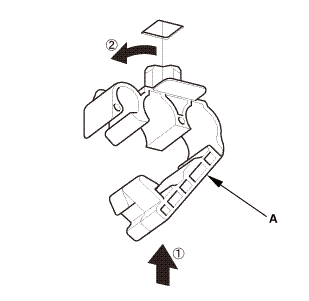
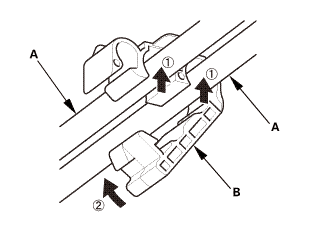
Installation
| 1. | Trunk Lid Torsion Bar |
|
2-door
4-door
|
|
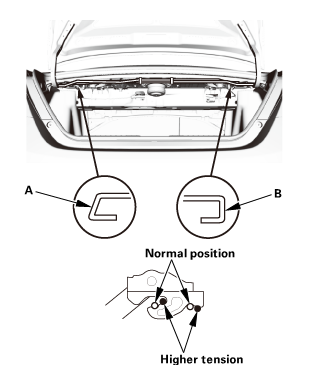 positionunslon
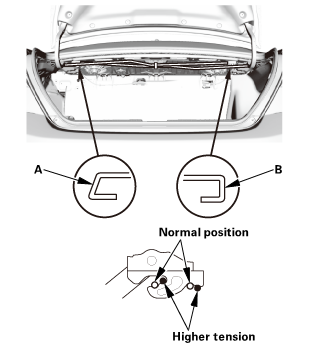 nnrmalpnullnn
|
|
|
|
2-door
4-door
|
|
|||||||||||||||||
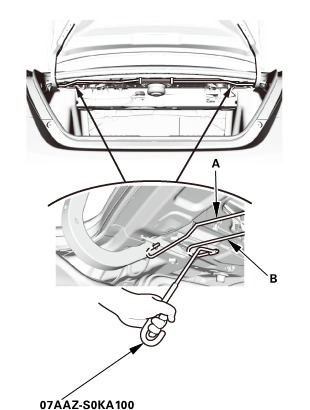 n7aaz-sni(ainn
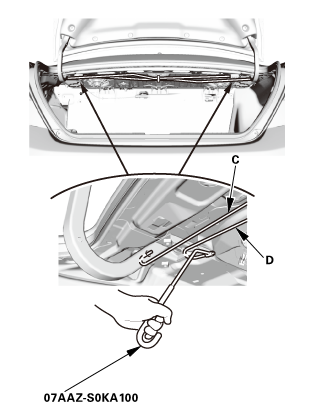
|
|
|
|
|
|

 Trunk Side Trim Panel Removal and Installation (Natural Gas models)
Removal
1.
Trunk Floor Lid (Natural Gas Model)
1.
Remove the tr ...
 Trunk Lid Latch Removal and Installation
8171B6
Removal
1.
Trunk Lid Trim Panel
1.
For some models: ...
See also:
Honda Civic Owners Manual. Audio System Basic Operation
Models with color audio system
To use the audio system, the ignition switch must be in ACCESSORY
or ON
.
Use the selector knob or MENU/CLOCK
button to access some audio functions.
Press to switch between the
normal and
extended display for some functions.
Selector kn ...
