Honda Civic Service Manual: Front Passenger's Seat-Back Heater Removal and Installation ('13-'14)

|
SRS components are located in this area. Review the SRS component locations and the precautions and procedures before doing repairs or service. |
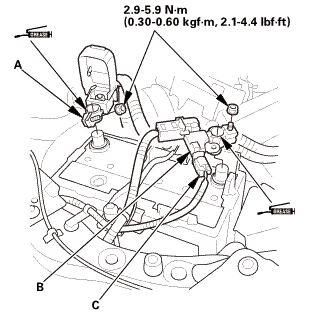
| 1. | Battery Terminal (SRS) - Disconnection |
|
|
|
||||||||||||||||||||||||||||||


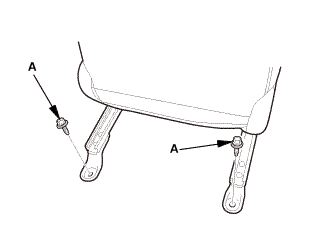
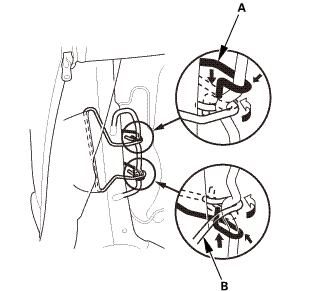
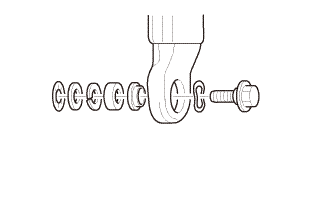
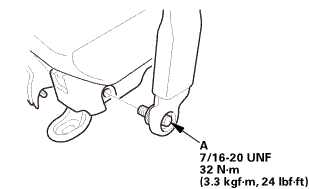
| 2. | Front Seat Belt Lower Anchor - Passenger's Side |
|
|
|
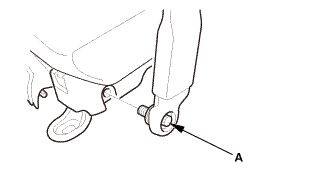
|
|
|
|
|
|
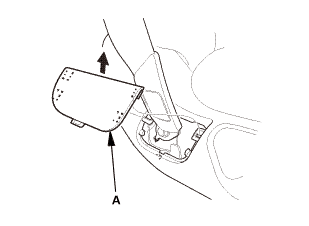
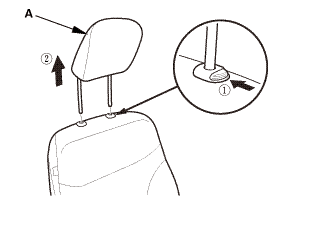
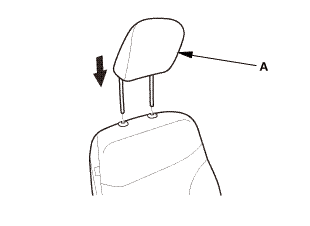
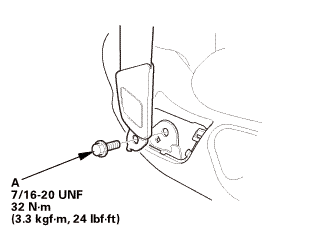
| 3. | Head Restraint - Passenger's Side |
|
|
|
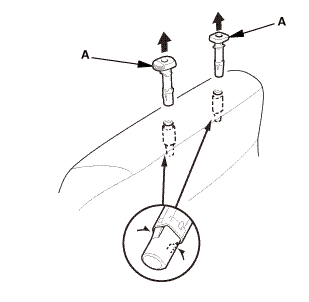
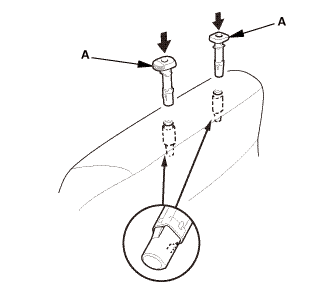
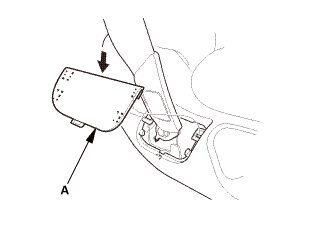
| 4. | Front Seat - Passenger's Side |
|
2-door
4-door
|
|
|
|
|
|
|
|
|
|
|
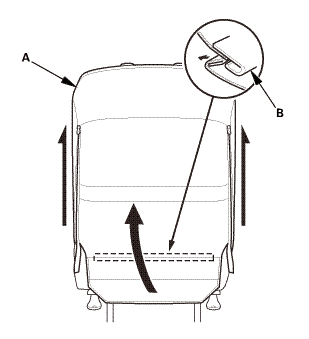
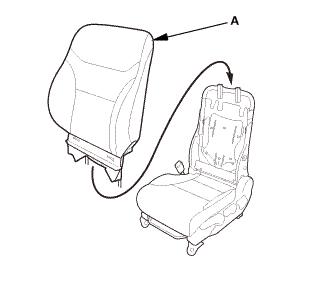
| 5. | Front Seat-Back as Needed - Passenger's Side |
|
2-door
4-door
|
|
|
2-door
4-door
|
|

|
|
|
|
|
|
|
|
|
|
|
|
|
|
|
|
|
|
|
|
|

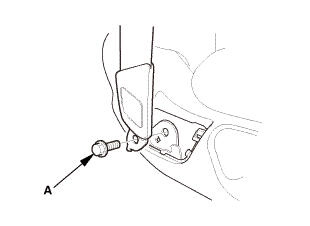
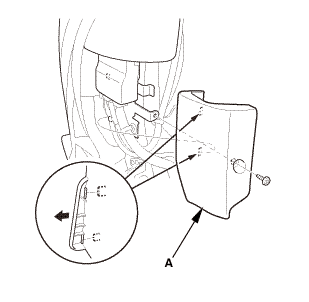
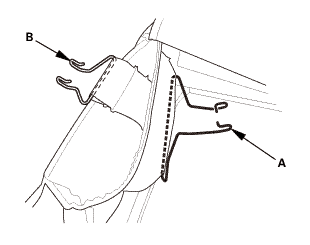
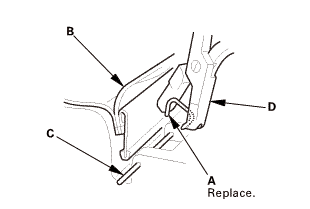
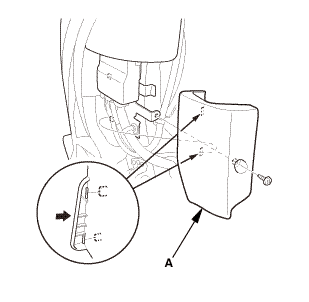
| 6. | Head Restraint Guide - Passenger's Side |
|
|
|
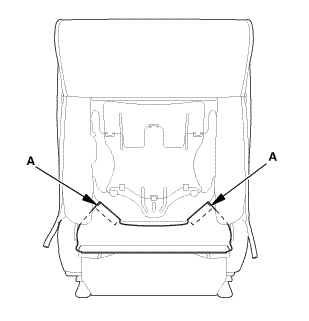
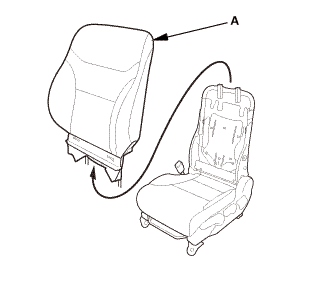
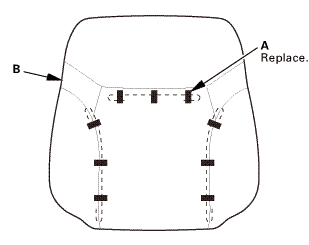
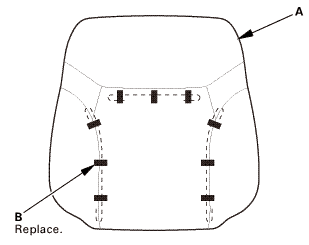
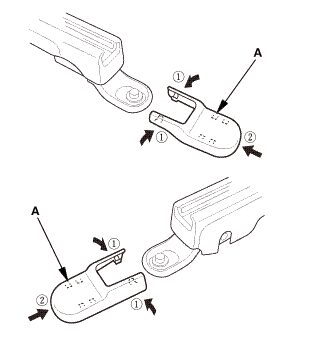
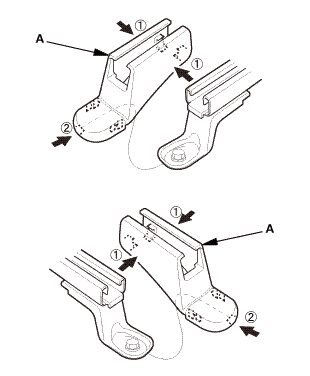
| 7. | Front Seat-Back Cover/Pad - Passenger's Side |
|
|
|
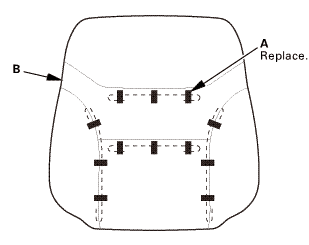
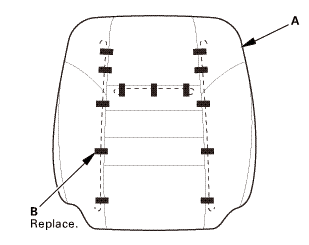
| 8. | Front Seat-Back Cover - Passenger's Side |
|
Except Si (Fabric)
Except Si (Leather)
Si
|
|
|
|
|
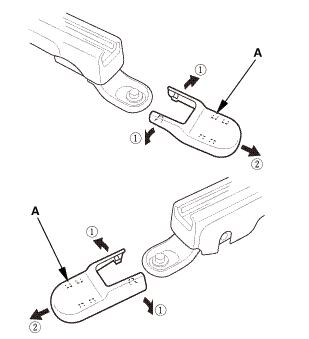
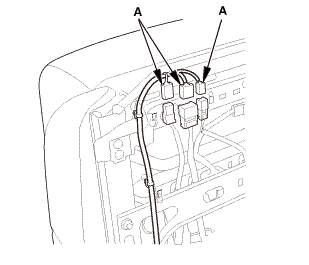
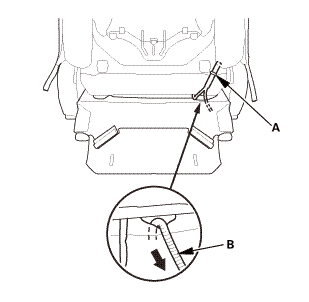
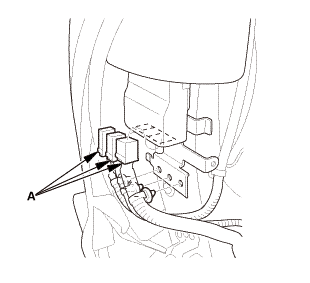
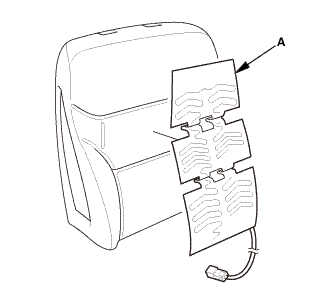
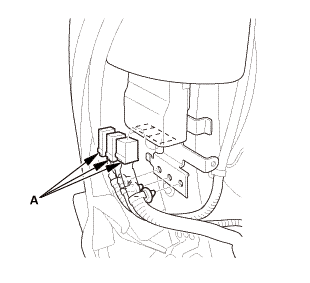
| 9. | Seat-Back Heater - Front Passenger's Side |
|
|
|
||||||

|
SRS components are located in this area. Review the SRS component locations and the precautions and procedures before doing repairs or service. |
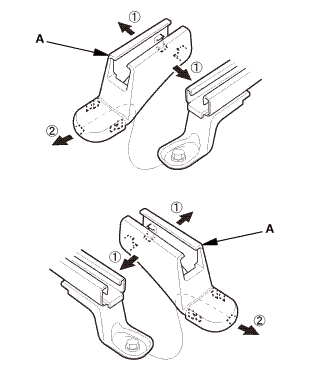
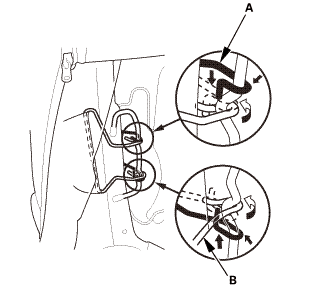
| 1. | Seat-Back Heater - Front Passenger's Side |
|
|
|
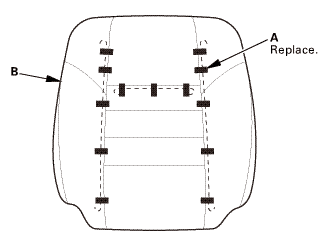
| 2. | Front Seat-Back Cover - Passenger's Side |
|
|
|
|
|
|
|
Except Si (Fabric)
Except Si (Leather)
Si
|
|

| 3. | Front Seat-Back Cover/Pad - Passenger's Side |
|
|
|
| 4. | Head Restraint Guide - Passenger's Side |
|
|
|
| 5. | Front Seat-Back As Needed - Passenger's Side |
|
|
|

|
|
|
|
|
|
|
|
|
|
|
|
|
|
|
|
|
|

|
2-door
4-door
|
|

|
2-door
4-door
|
|
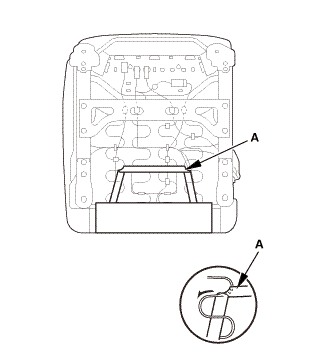
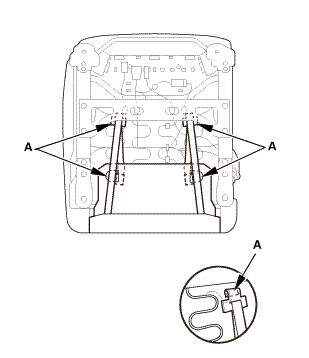
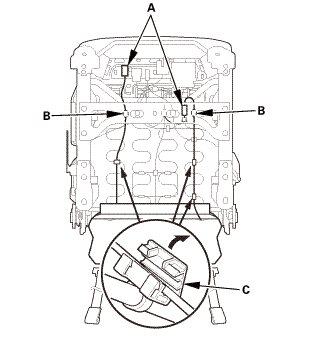
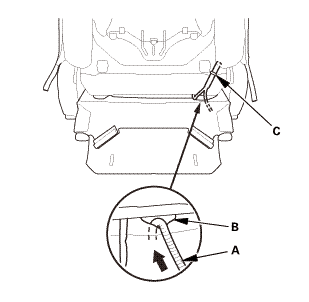
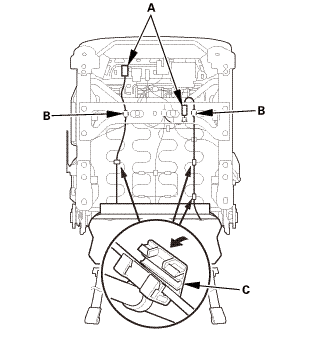
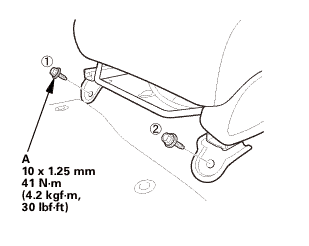
| 6. | Front Seat Assembly - Passenger's Side |
|
|
|
|
Front side
Rear side
|
|
|||||||||||||||||
 mmu....in
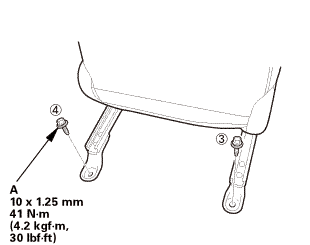
|
2-door
4-door
|
|
| 7. | Head Restraint - Passenger's Side |
|
|
|
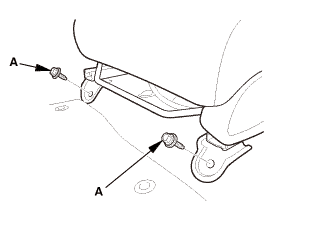
| 8. | Front Seat Belt Lower Anchor - Passenger's Side |
|
|
|
|||||||
 @@
@@|
|
|
 7/m2onm
|
|
|
 um22nmin
|
|
|
| 9. | Battery Terminal (SRS) - Reconnection |
|
|
|
|||||||||||||||||||
 (o.2ao.sam.
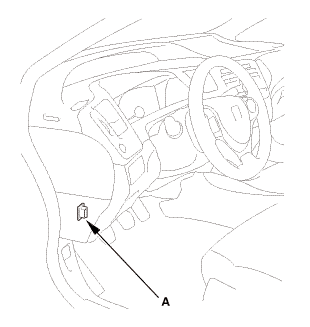
| 10. | HDS DLC - Connection |
|
|
|
| 11. | DTC - Clear |
|
| 12. | OPDS Sensor Initialization |
|
||||||||||||||||||||||||||||||||||||||||
 Driver's Seat-Back Heater Removal and Installation
859122 LEFT FRONT
Removal
SRS components are located in this area. Review the SRS component locations
and the precautions and procedures before doing repairs or service.
...
 Front Seat Belt Removal and Installation - Driver's Seat (2-door)
Removal
1.
Battery Terminal (SRS) - Disconnection
1.
Make sure the ignition switch is in LOCK (0).
...
See also:
Honda Civic Owners Manual. How to Select a File from a Folder with the Selector Knob
1. Press to display a folder
list.
2. Rotate to select a
folder.
3. Press to display a list
of files in that
folder.
4. Rotate to select a file,
then press .
Playing a USB Flash Drive
Use the recommended USB flash drives.
General Information on the Aud ...
