Honda Civic Service Manual: B-Pillar Upper Trim Removal and Installation (2-door)
8571B7 LEFT UPPER
8571B8 RIGHT UPPER

Removal
|
SRS components are located in this area. Review the SRS component locations and the precautions and procedures before doing repairs or service. |
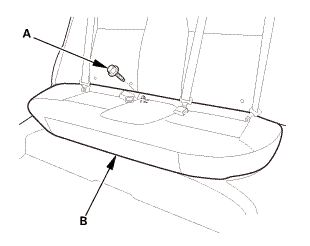
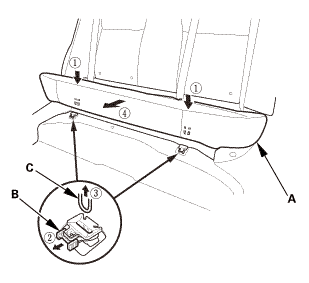
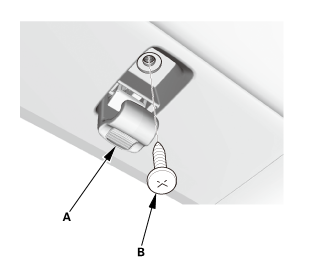
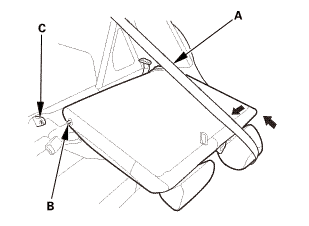
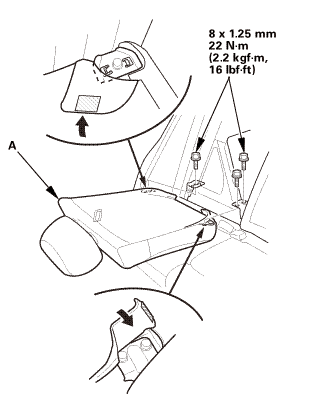
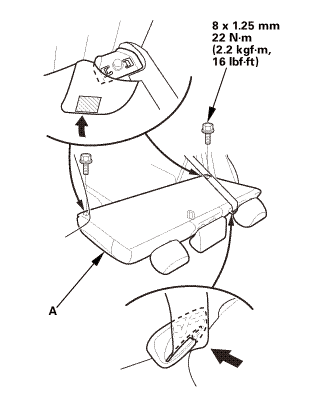
| 1. | Rear Seat Cushion |
|
|
|
|
|
|
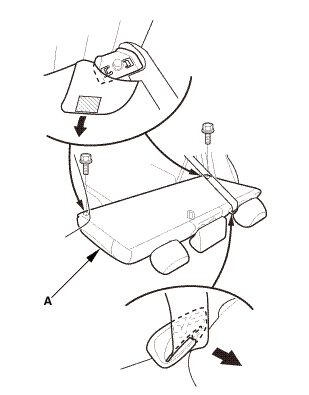
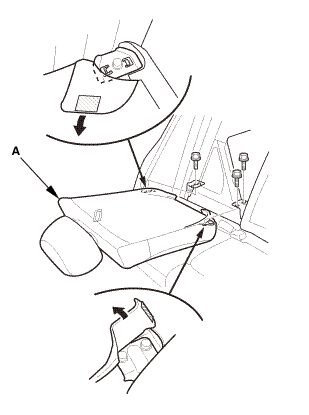
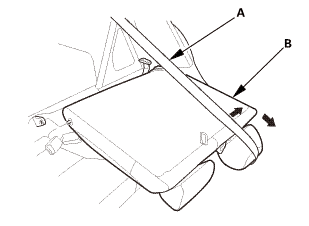
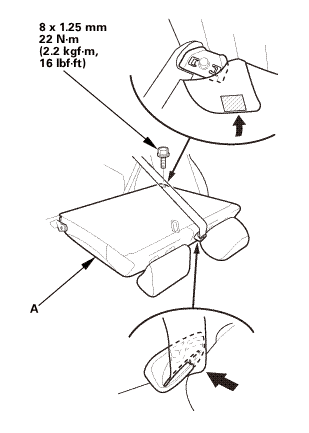
| 2. | Rear Seat-Back - Fold Down |
|
|
|
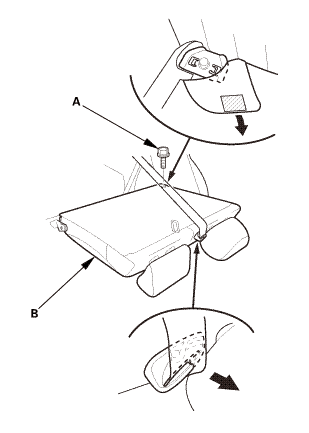
| 3. | Right Rear Seat-Back - Split Fold Down |
|
|
|
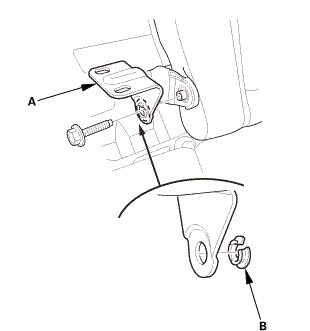
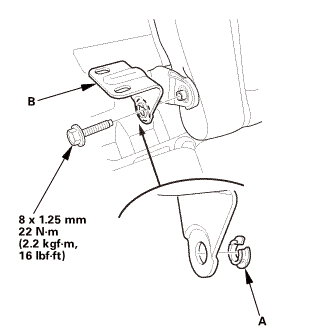
| 4. | Center Pivot Bracket - Split Fold Down |
|
|
|
| 5. | Left Rear Seat-Back - Split Fold Down |
|
|
|
|
|
|
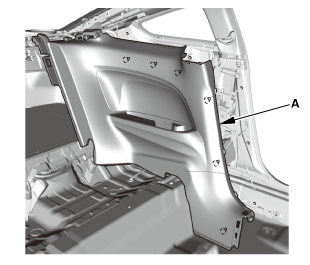
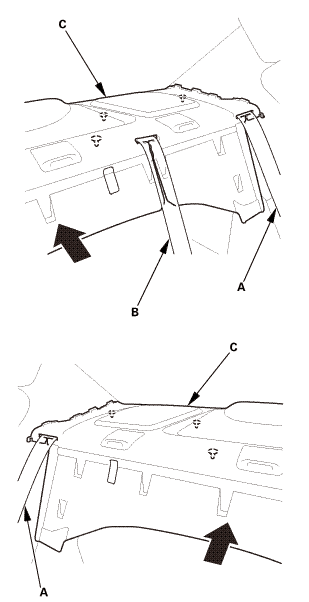
| 6. | Both Quarter Pillar Trims |
|
|
|

|
|
|
|
|
|
||||||||||||
|
|
|
| 7. | Rear Shelf Trim |
|
|
|
|
|
|
|
|
|
|
|
|
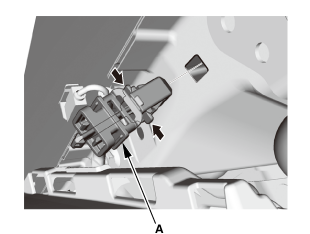
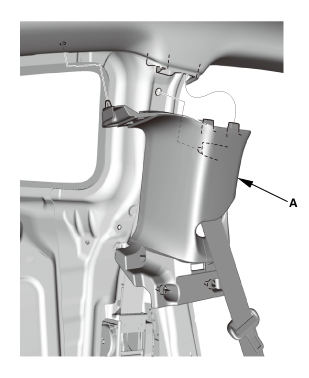
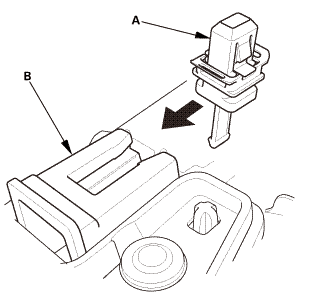
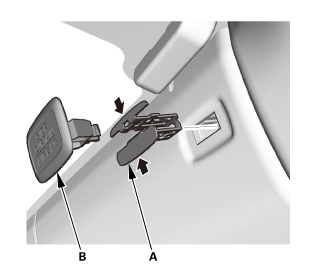
| 8. | Rear Side Trim Panel |
|
|
|
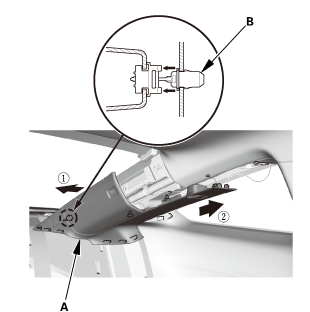
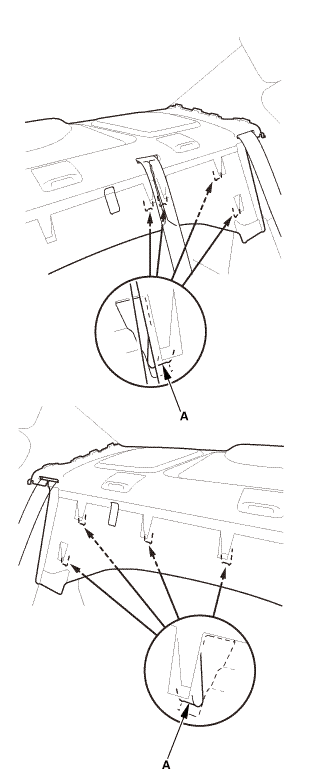
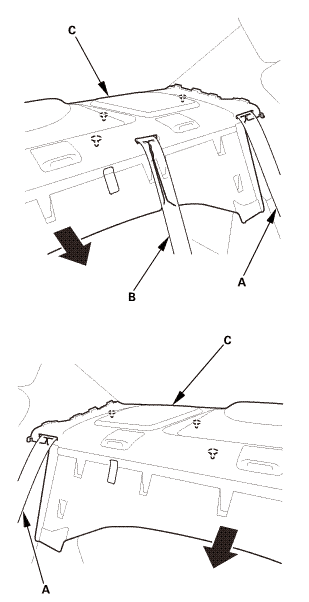
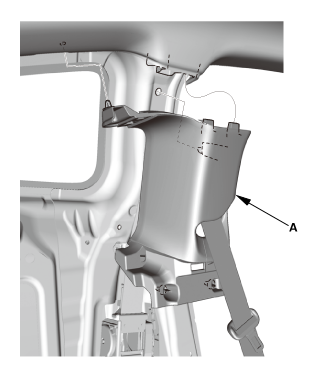
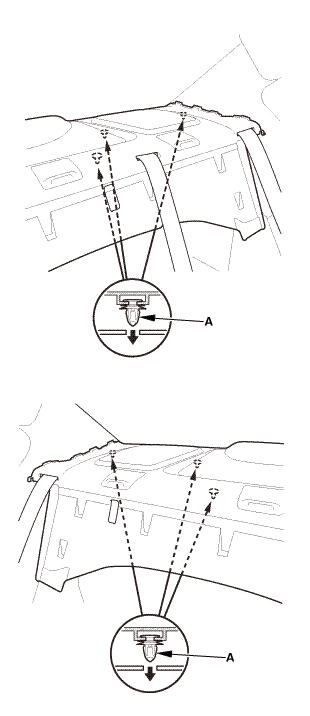
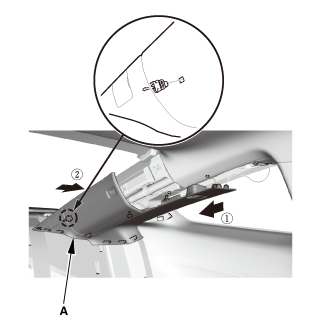
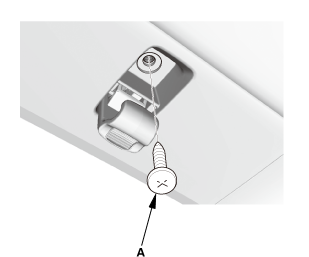
| 9. | B-Pillar Upper Trim |
|
|
|
|
|
|

Installation
|
SRS components are located in this area. Review the SRS component locations and the precautions and procedures before doing repairs or service. |
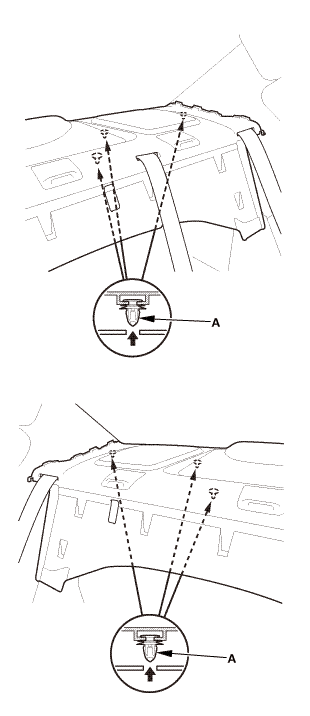
| 1. | B-Pillar Upper Trim - Check |
|
|
|
||||||||||||||||||||||||||

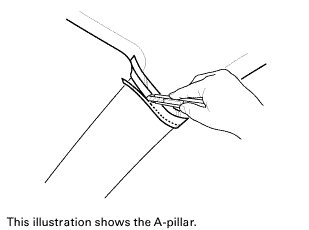
| 2. | Headliner/Pillar Trim Overlap - Check |
|
|
|
 tms
tms|
|
|
|
|
|
||||||||||||||||
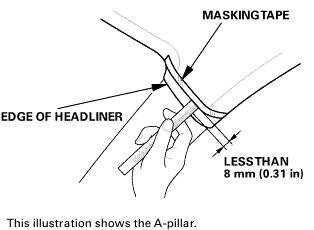 sun:orlessthan
|
|
|
 slmws
slmws| 3. | B-Pillar Upper Trim |
|
|
|

|
|
|
| 4. | Rear Side Trim Panel |
|
|
|
| 5. | Rear Shelf Trim |
|
|
|
|
|
|
|
|
|
|
|
|
| 6. | Both Quarter Pillar Trims |
|
|
|
|
|
|
||||||||||||||||||||||||
|
|
|
|
|
|
| 7. | Left Rear Seat-Back - Split Fold Down |
|
|
|
|
|
|
| 8. | Center Pivot Bracket - Split Fold Down |
|
|
|
| 9. | Right Rear Seat-Back - Split Fold Down |
|
|
|
| 10. | Rear Seat-Back - Fold Down |
|
|
|
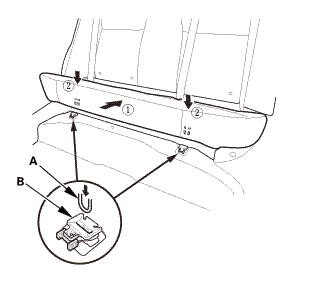
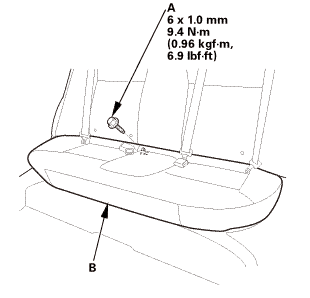
| 11. | Rear Seat Cushion |
|
|
|
|
|
|
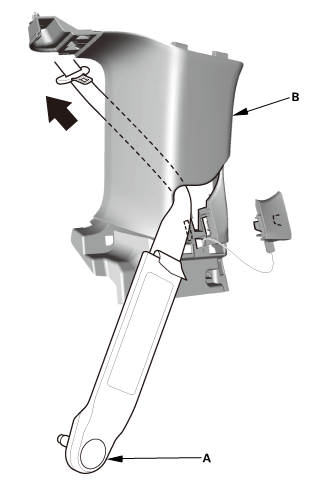
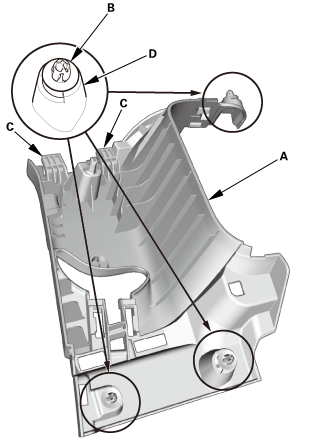
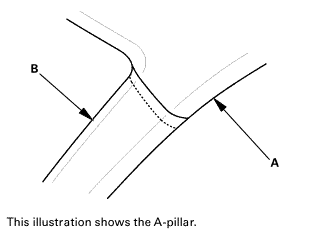
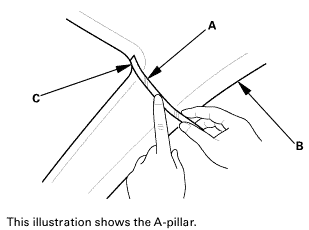
 A-Pillar Trim Removal and Installation
Removal
SRS components are located in this area. Review the SRS component locations
and the precautions and procedures before doing repairs or service.
1.
Fro ...
 C-Pillar Trim Removal and Installation (4-door except Natural Gas models)
Removal
SRS components are located in this area. Review the SRS component locations
and the precautions and procedures before doing repairs or service.
1.
Rea ...
See also:
Honda Civic Service Manual. Front Lower Ball Joint Removal and Installation
4151B5 LEFT
4151B6 RIGHT
4161C0 BOTH
1.
Vehicle Lift
1.
Raise the vehicle on a lift, and make sure it is securely supported.
2.
Front Wheel
...
