|

|
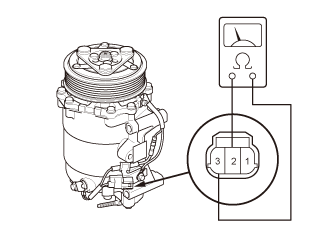
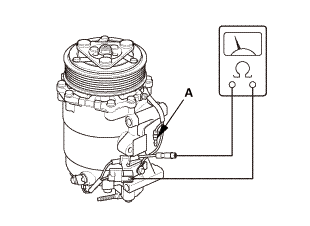
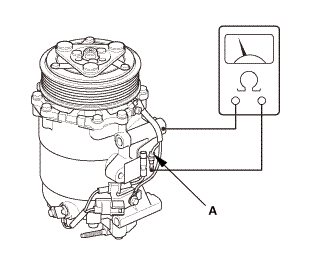
When replacing the field coil, check that the new coil has the
correct resistance.
|
|
|
|
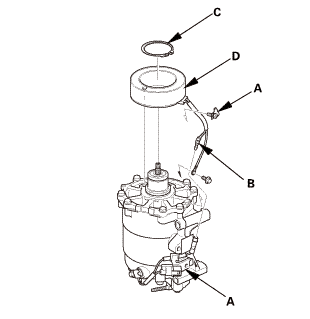
Install the field coil with the wire side facing down, and align
the boss on the field coil with the hole in the A/C compressor.
|
|
|
|
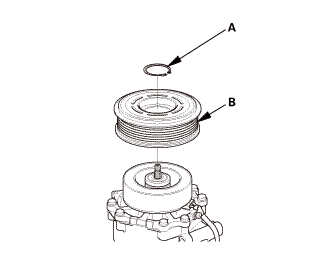
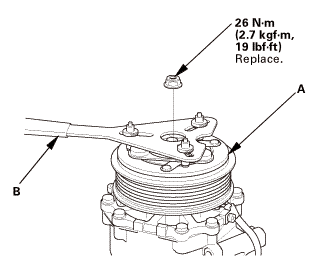
Clean the rotor pulley and the armature plate with contact cleaner
or other non-petroleum solvent.
|
|
|
|
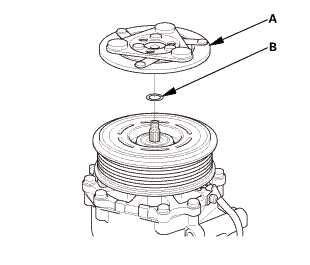
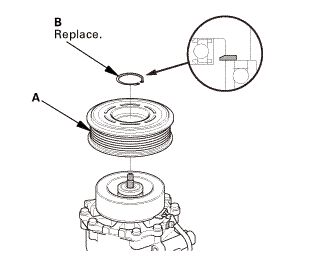
Install new snap rings, note the installation direction, and
make sure they are fully seated in the grooves.
|
|
|
|
Make sure that the rotor pulley turns smoothly after it's reassembled.
|
|
|
|
Route and clamp the wires properly to prevent damage by the rotor
pulley.
|
|
|
|
After reinstallation, cycle the A/C clutch approximately 20 times
by running the engine at 1,500-2,000 rpm and setting the A/C system
to MAX A/C mode. This procedure seats the clutch sliding surfaces,
and increases clutch torque capacity.
|
|
See also:
Honda Civic Owners Manual. Jump Starting Procedure
Turn off the power to electric devices, such as audio and lights. Turn off
the engine,
then open the hood.
Connect the first jumper cable to your
vehicle's battery + terminal.
Connect the other end of the first jumper
cable to the booster battery + terminal.
► Use a 12 ...
 Disassembly
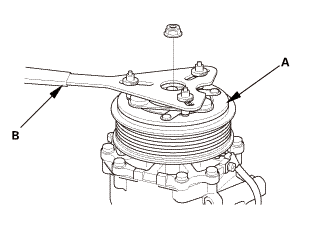
 Reassembly
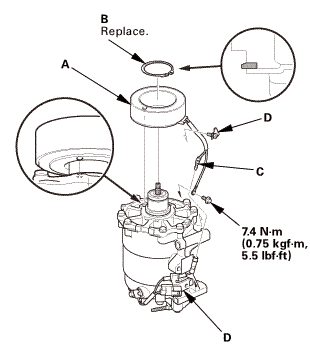
 Check
Check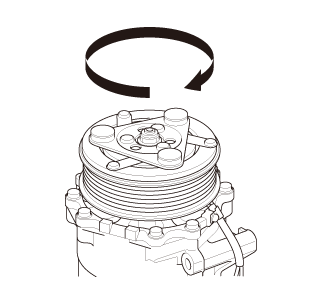

 A/C Compressor Clutch Check (Except K24Z7)
 Heating