Honda Civic Service Manual: Seat Belt Shoulder Anchor Adjuster Removal and Installation
8541A1 LEFT
8541A2 RIGHT

|
SRS components are located in this area. Review the SRS component locations and the precautions and procedures before doing repairs or service. |
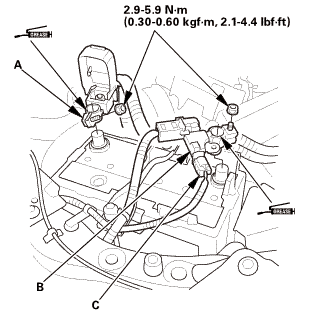
| 1. | Battery Terminal (SRS) - Disconnection |
|
|
|
||||||||||||||||||||||||||||||
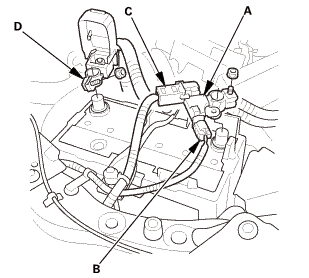

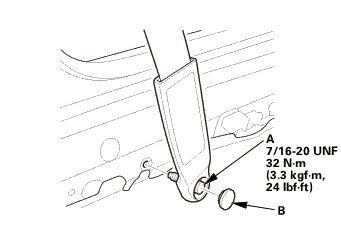
| 2. | Front Seat Belt Lower Anchor - Driver's Side |
|
|
|
|
|
|
|
|
|
|
|
|
||||||||||
 unn-mmlmlusuum
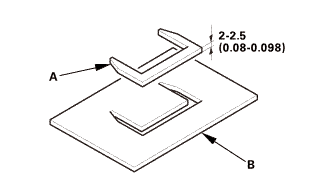
|
|
|

|
|
|
|
|
|
| 3. | Front Door Sill Trim - 4-Door |
|
|
|
|
|
|
|
|
|
| 4. | Rear Door Sill Trim |
|
|
|
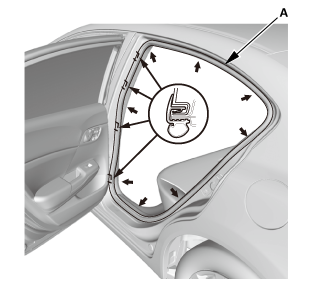
| 5. | Front and Rear Door Opening Seals as Needed |
|
Front
Rear
|
|
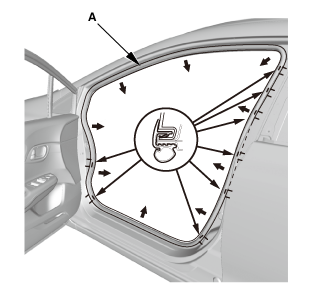
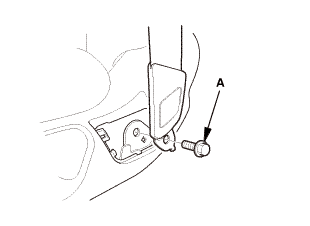
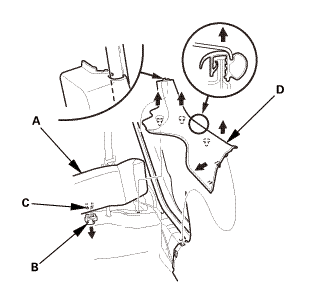
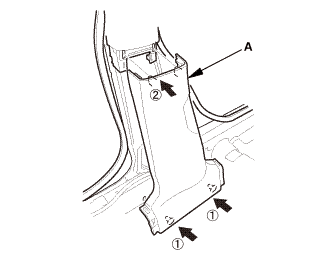
| 6. | B-Pillar Lower Trim |
|
|
|
|
12 Model
13-14 Models
|
|

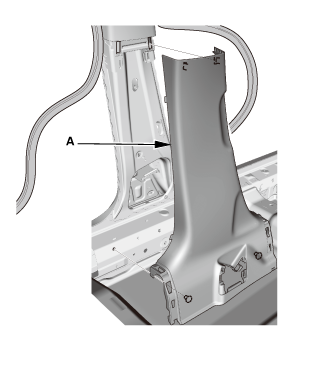
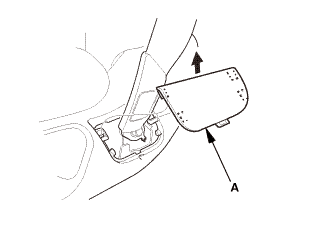
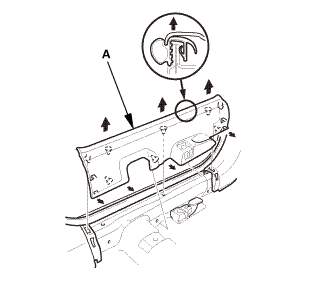
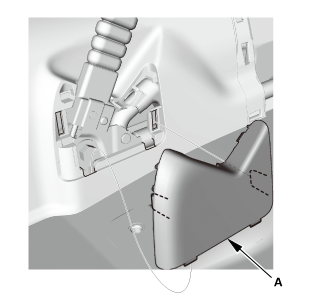
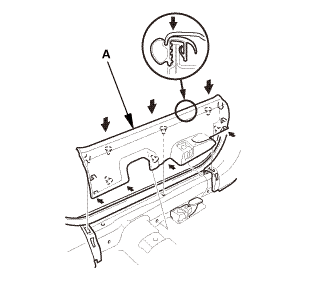
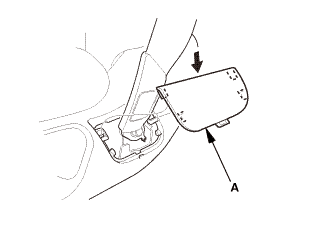
| 7. | B-Pillar Upper Trim |
|
|
|
|
|
|
|
|
|
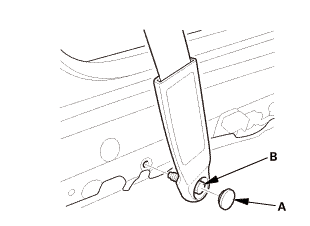
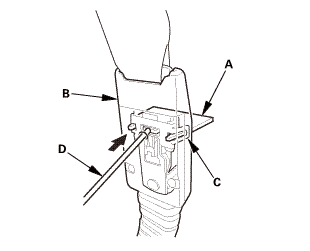
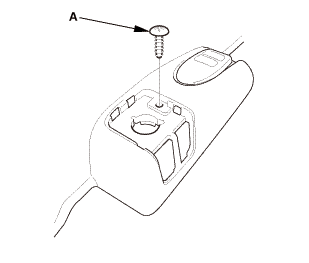
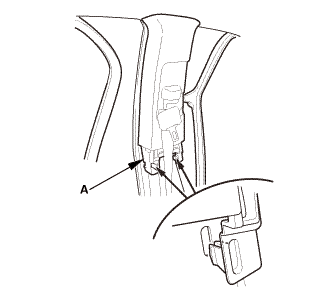
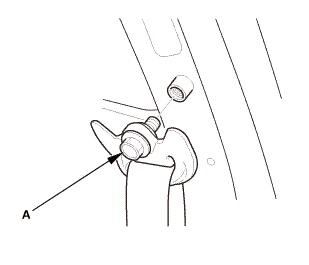
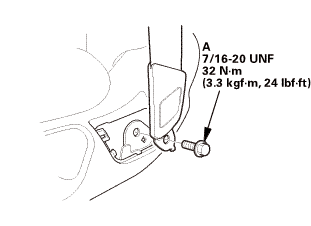
| 8. | Front Seat Belt Upper Anchor Bolt - Driver's Side |
|
2-door
4-door
|
|
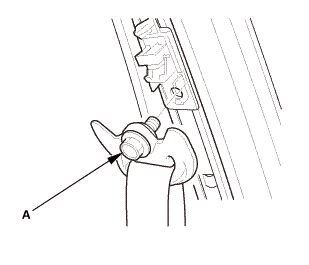
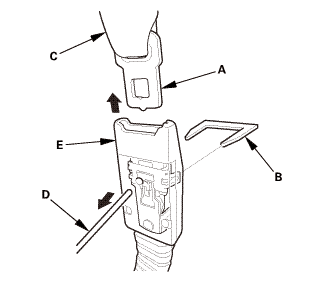
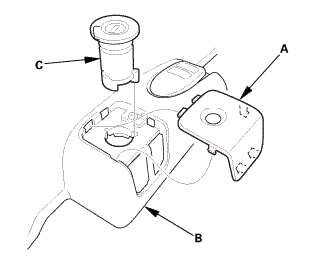
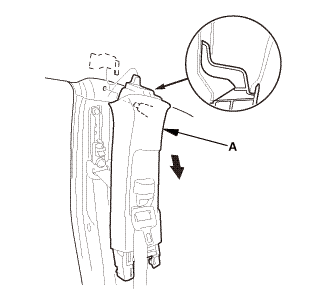
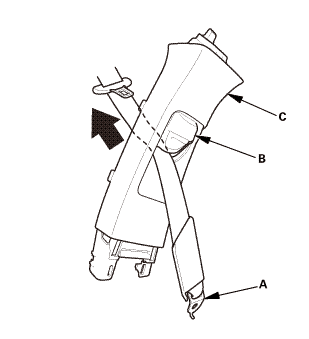
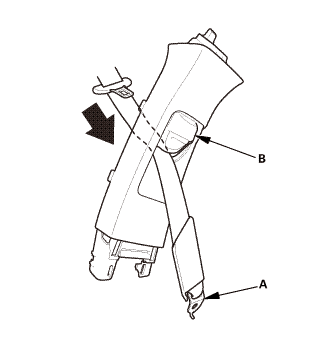
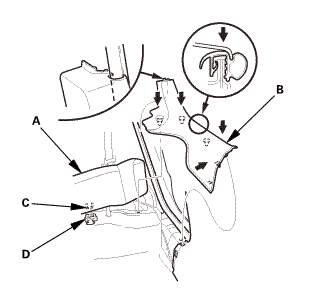
| 9. | Front Seat Shoulder Anchor Adjuster |
|
|
|


|
SRS components are located in this area. Review the SRS component locations and the precautions and procedures before doing repairs or service. |
| 1. | Front Seat Shoulder Anchor Adjuster |
|
|
|
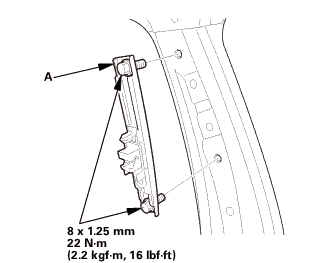 22mm
22mm| 2. | Front Seat Belt Upper Anchor Bolt - Driver's Side |
|
|
|
||||||
|
2-door
4-door
|
|
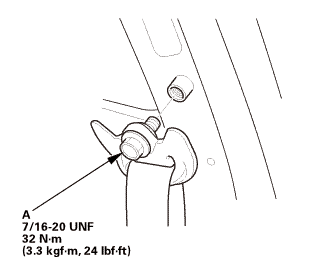 7i1iza:2inm,mm
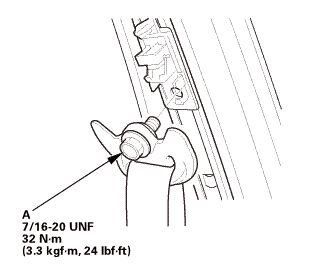
| 3. | B-Pillar Upper Trim |
|
|
|
|
|
|

|
|
|
| 4. | B-Pillar Lower Trim |
|
12 Model
13-14 Models
|
|
|
|
|
| 5. | Front and Rear Door Opening Seals as Needed |
|
Front
Rear
|
|

| 6. | Rear Door Sill Trim |
|
|
|
| 7. | Front Door Sill Trim - 4-Door |
|
|
|
|
|
|
|
|
|

| 8. | Front Seat Belt Lower Anchor - Driver's Side |
|
|
|
|||||||
|
|
|
|
|
|
 nmimm
nmimm|
|
|
|
|
|

| 9. | Battery Terminal (SRS) - Reconnection |
|
|
|
|||||||||||||||||||
 (o.2ao.sam.
 Rear Seat Belt Removal and Installation (Except Natural Gas models)
865100 LEFT
866100 RIGHT
8551A8 LEFT
Removal
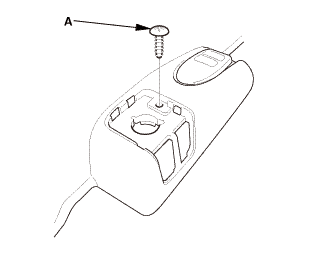
1.
Rear Seat Cushion
1.
Remove the bolt (A) securing th ...

See also:
Honda Civic Owners Manual. Tire Sizes
Whenever tires are replaced, they should be replaced with tires of the same
size.
Tire Labeling
Following is an example of tire size with an
explanation of what each component means.
P205/55 R16 89H
P: Vehicle type (P indicates passenger vehicle).
205: Tire width in mill ...
