Honda Civic Service Manual: Front Fog Light Removal and Installation ('12, '13: 2-door)
019106 LEFT
019107 RIGHT

Removal
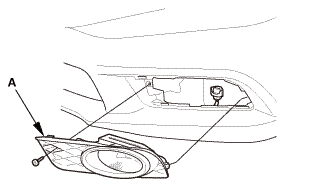
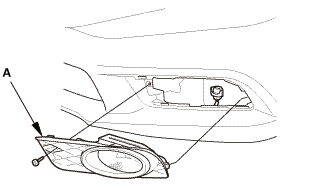
| 1. | Front Fog Light Assembly |
|
|
|
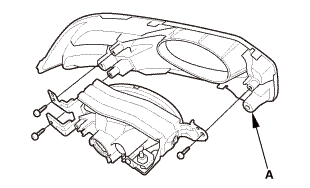
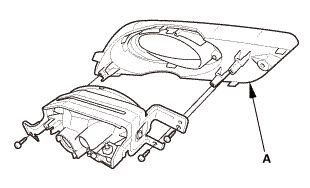
| 2. | Front Bumper Fog Light Cover |
|
2-door
4-door
|
|
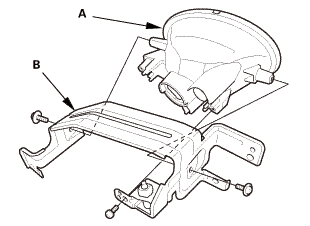
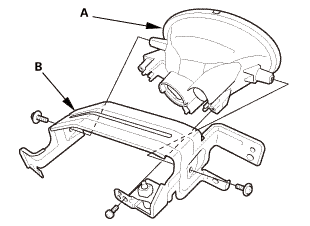
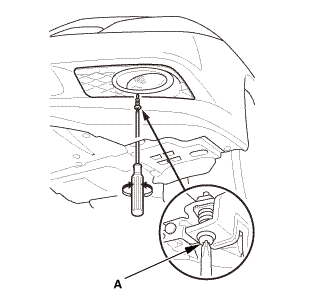
| 3. | Front Fog Light |
|
|
|

Installation
| 1. | Front Fog Light |
|
|
|
| 2. | Front Bumper Fog Light Cover |
|
2-door
4-door
|
|
| 3. | Front Fog Light Assembly |
|
|
|
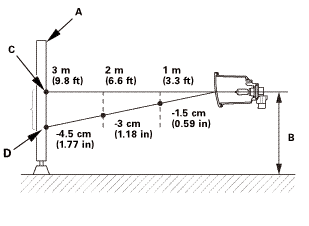
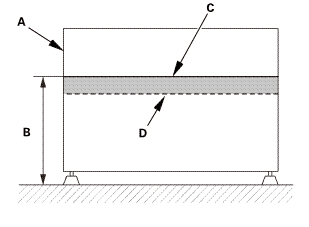
| 4. | Front Fog Light - Adjustment |
|
|
|
||||||||||||||||||||||||||||||||||||||||||

|
|
|
 Front Fog Light Bulb Removal and Installation ('13-'14: 4-door)
1.
Front Fog Light Trim
Except Si model
Si model
1.
...
 Front Fog Light Removal and Installation ('13-'14: 4-door)
1.
Front Fog Light Trim
Except Si model
Si model
1.
...
See also:
Honda Civic Owners Manual. Closing Apps
You can close specific apps running in the background on the system.
1. Select and hold
.
2. Select the Active tab.
If you select the Active/History tab, you
can close the apps that are currently
running and delete the app activity
history simultaneously.
3. Selec ...
