Honda Civic Service Manual: XM Antenna Removal and Installation (2-door)
015116

Removal
|
NOTE: SRS components are located in this area. Review the SRS component locations and the precautions and procedures before doing repairs or service. |
| 1. | Battery Terminal (SRS) - Disconnection |
|
|
|
|||||||||||||||
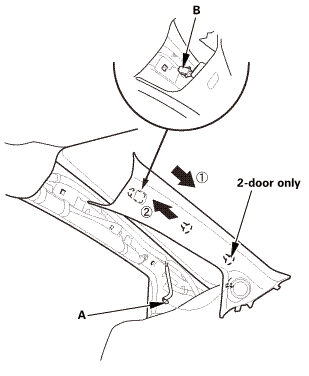
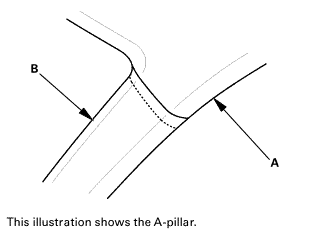
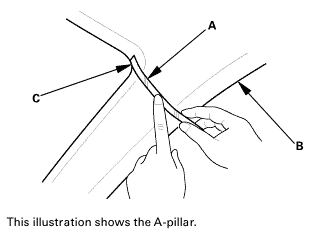
| 2. | A-Pillar Trim Both |
|
|
|
|
|
|
|
|
|
||||||
|
|
|
| 3. | Front Door Opening Seal As Needed Both |
|
|
|

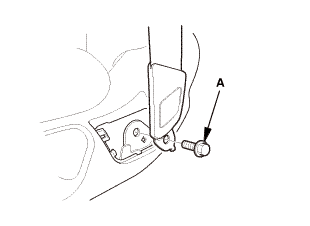
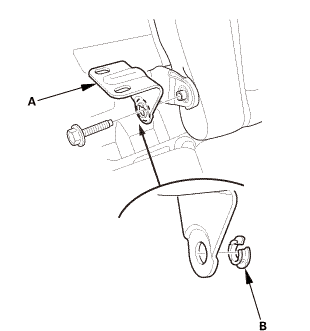
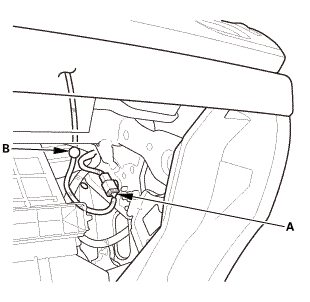
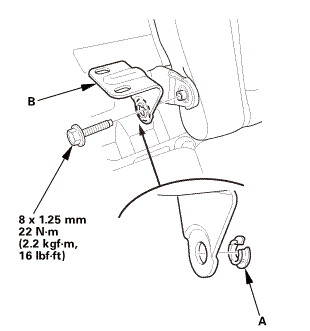
| 4. | Front Seat Belt Lower Anchor Bolt - Driver's Side |
|
|
|
|
|
|
|
|
|
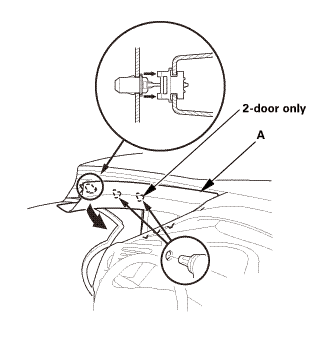
| 5. | Front Door Sill Trim - 2-Door |
|
|
|
|
|
|
|
|
|

| 6. | Front Door Sill Trim - 2-Door |
|
|
|
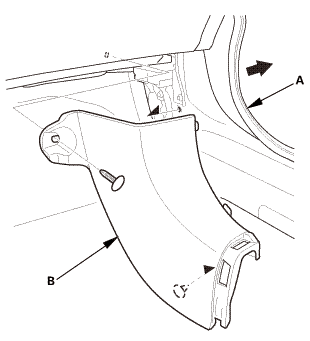
| 7. | Both Kick Panels |
|
Driver's side
Passenger's side
|
|
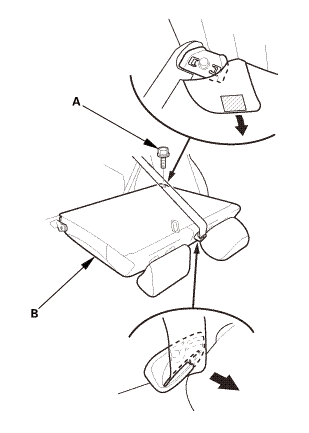
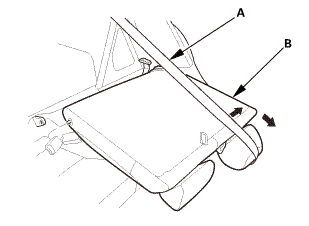
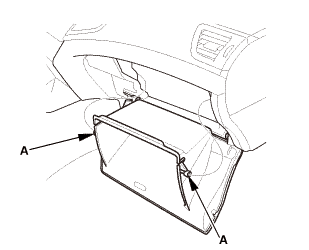
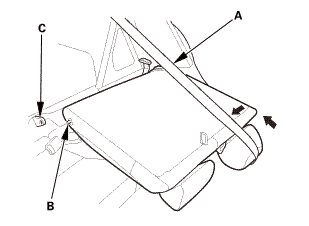
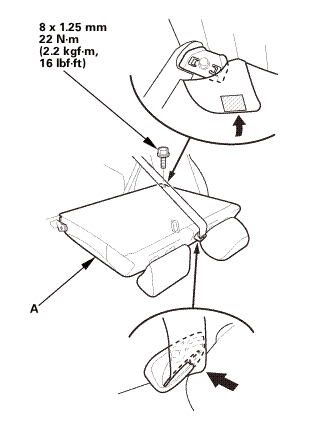
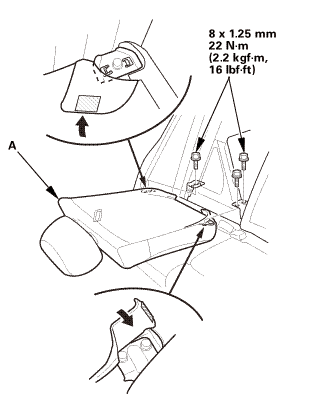
| 8. | Rear Seat Cushion |
|
|
|
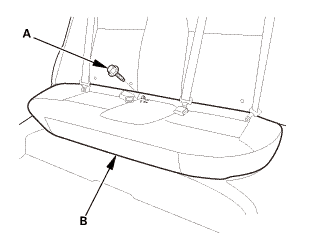
|
|
|
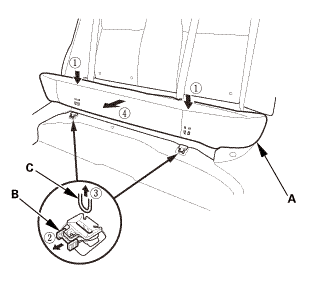
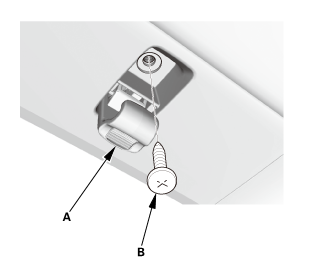
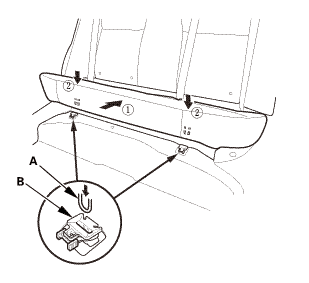
| 9. | Right Rear Seat-Back - Split Fold Down |
|
|
|
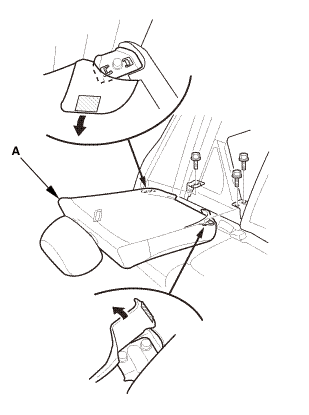
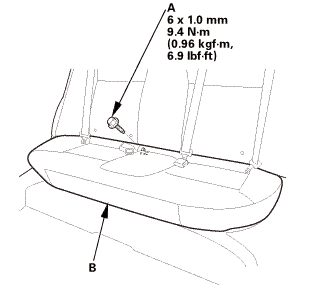
| 10. | Center Pivot Bracket - Split Fold Down |
|
|
|
| 11. | Left Rear Seat-Back - Split Fold Down |
|
|
|
|
|
|
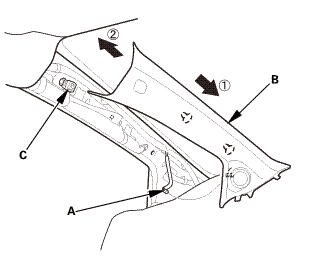
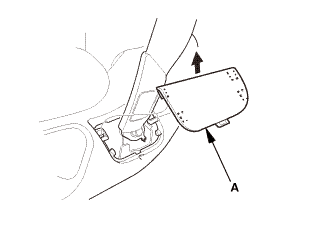
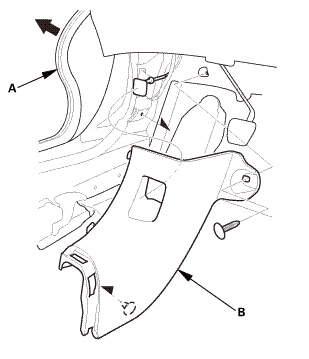
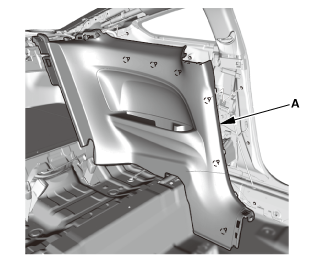
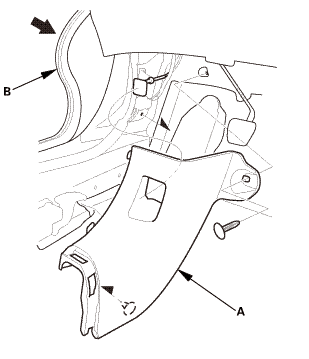
| 12. | Both Quarter Pillar Trims |
|
|
|

|
|
|
|
|
|
||||||||||||
|
|
|
| 13. | Rear Shelf Trim |
|
|
|
|
|
|
|
|
|
|
|
|

| 14. | Both Rear Side Trim Panels |
|
|
|
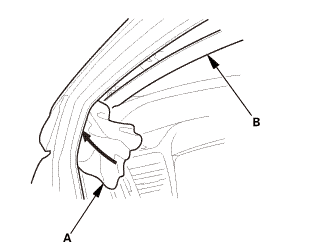
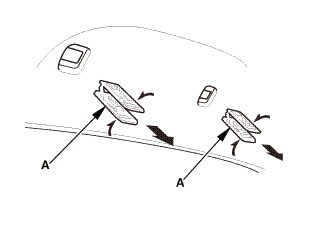
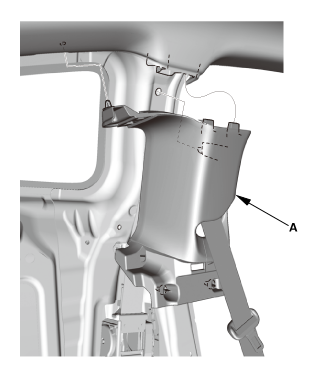
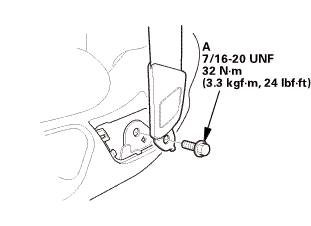
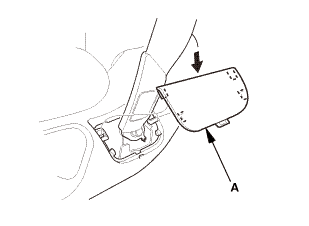
| 15. | Both B-Pillar Upper Trims |
|
|
|

|
|
|
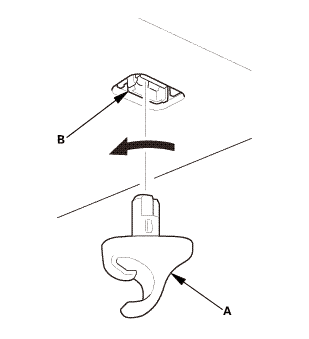
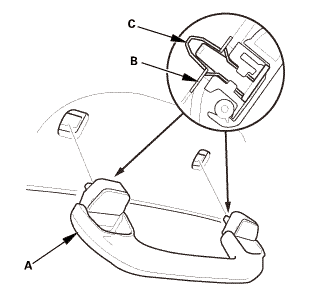
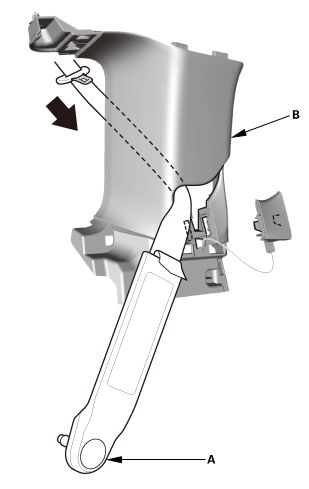
| 16. | Grab Handles for One Vehicle |
|
|
|
|
|
|

|
|
|
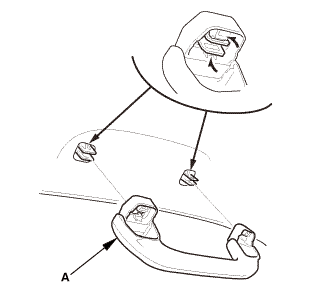
|
|
|
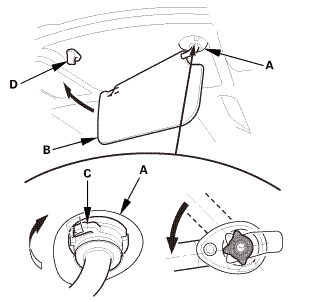
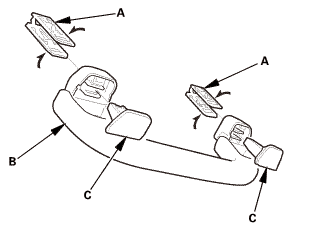
| 17. | Both Sunvisors |
|
|
|
||||||
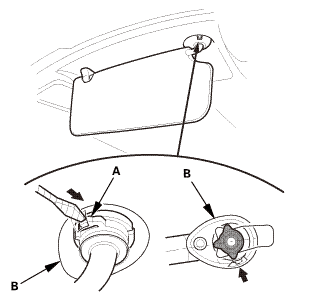
|
|
|
||||||
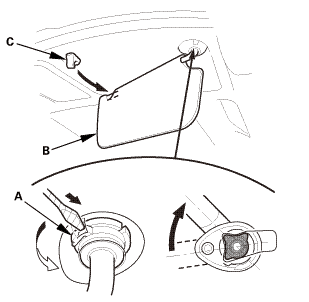
|
|
|
||||||
|
|
|
|
|
|
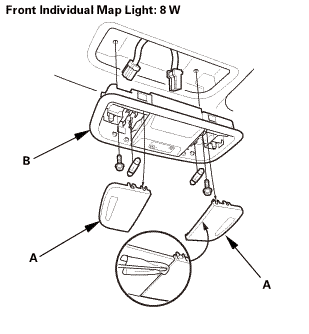
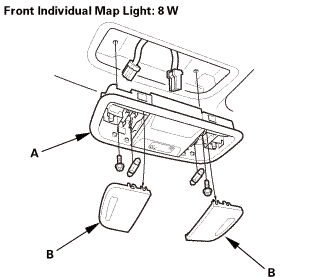
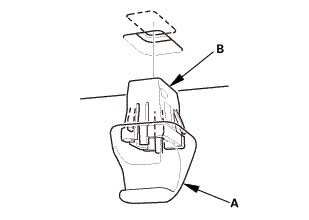
| 18. | Front Individual Map Light (without moonroof) |
|
|
|
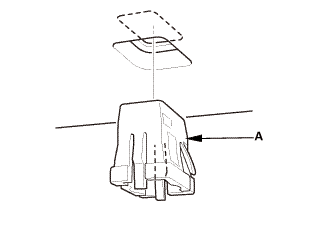
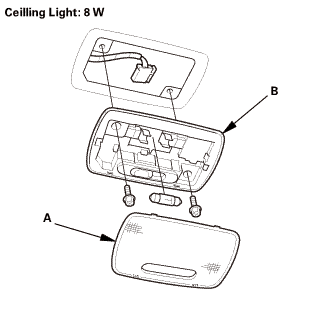
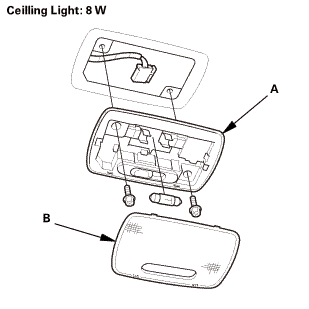
| 19. | Ceiling Light |
|
|
|
 llghr
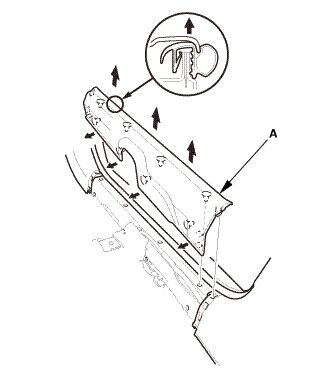
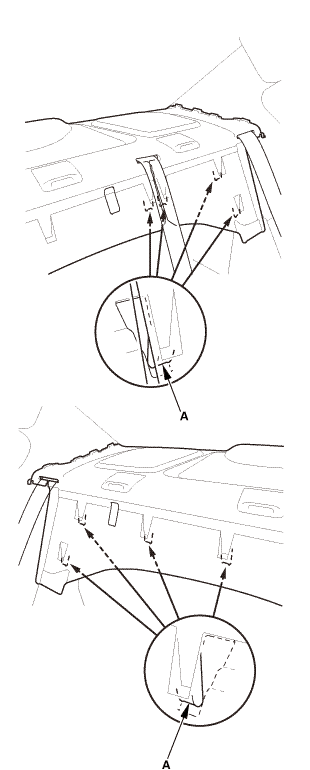
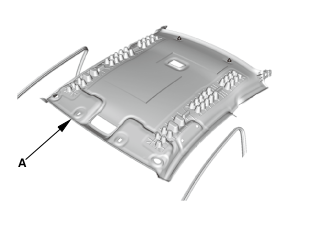
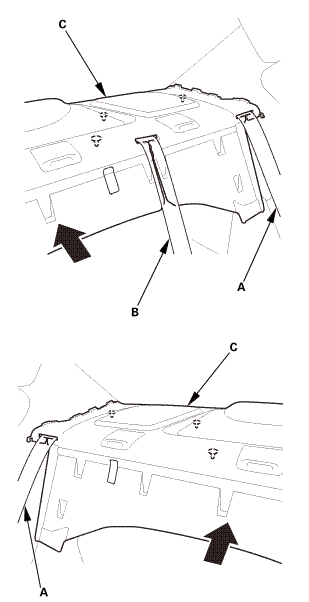
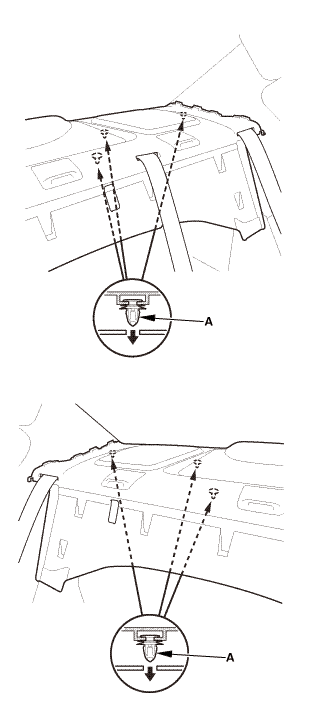
llghr| 20. | Headliner - 2-Door |
|
|
|
|
|
|
|
|
|
|
|
|

|
|
|
|
|
|
|
|
|
|
Without moonroof
With moonroof
|
|

|
|
|
||||||
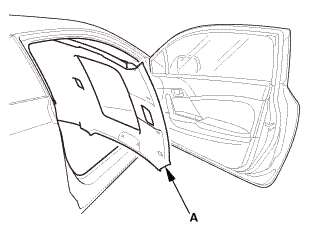
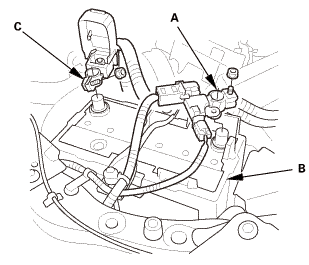
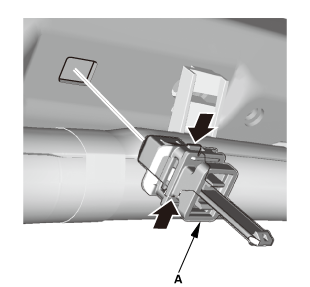
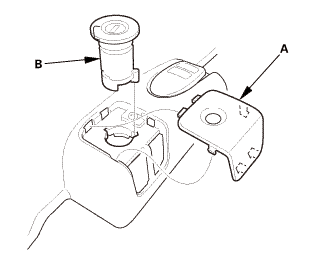
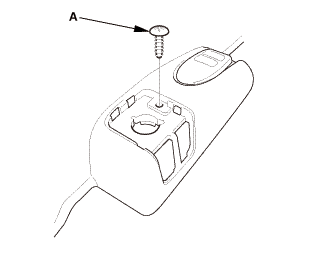
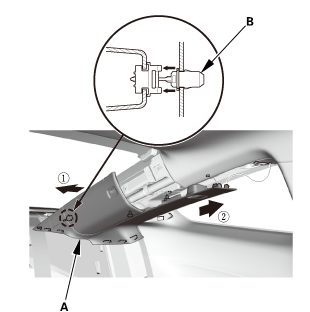
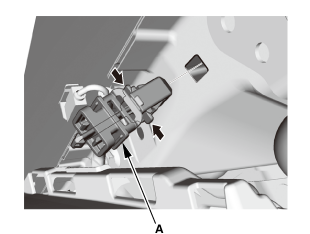
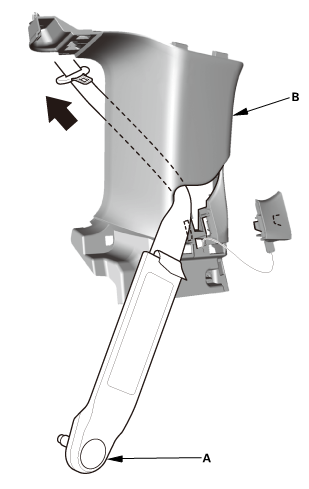
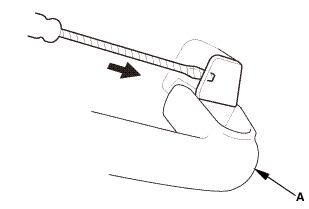
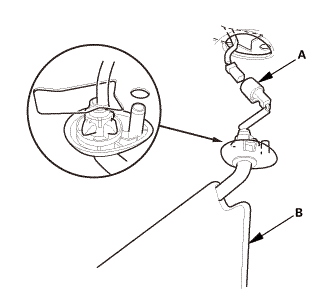
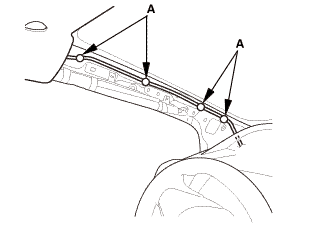
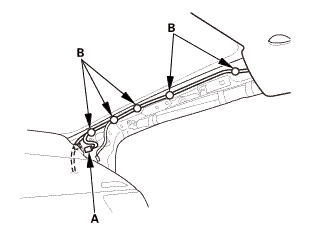
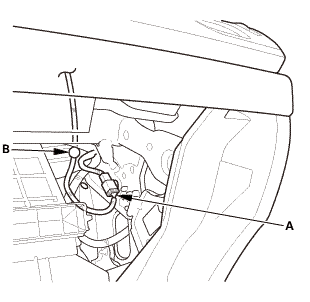
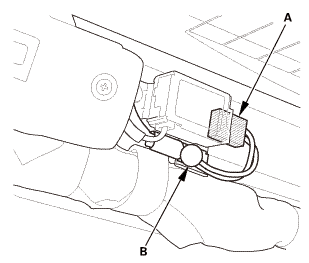
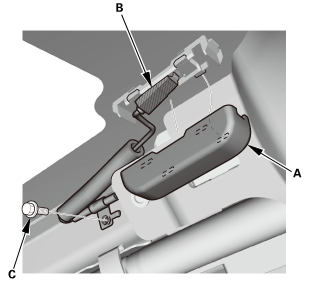
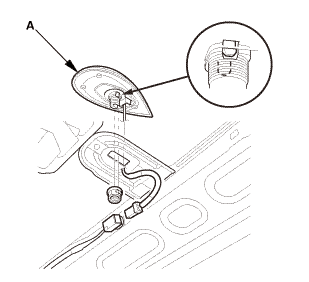
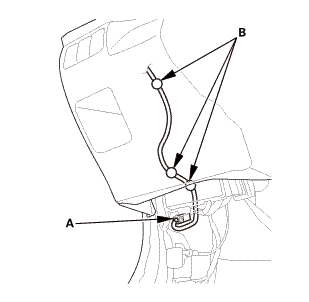
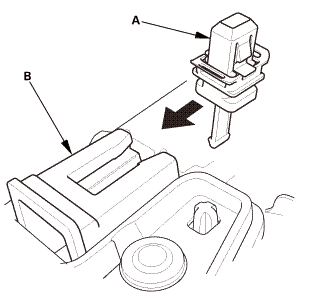
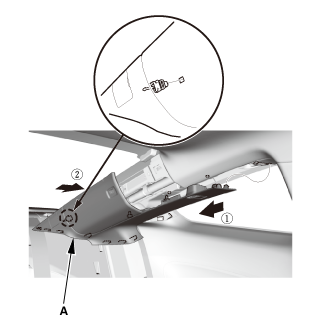
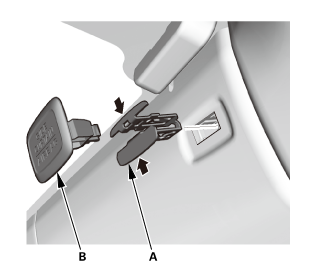
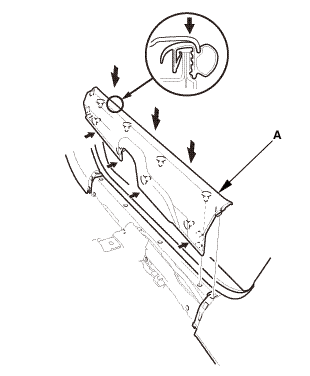
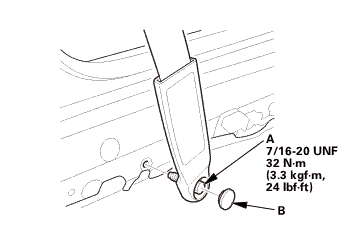
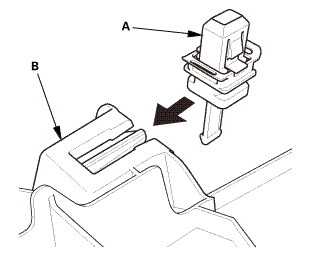
| 21. | XM Antenna |
|
|
|

Installation
|
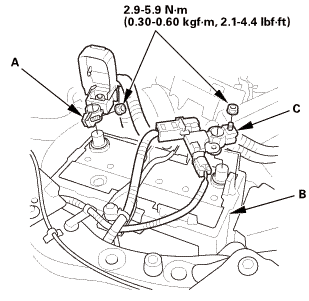
NOTE: SRS components are located in this area. Review the SRS component locations and the precautions and procedures before doing repairs or service. |
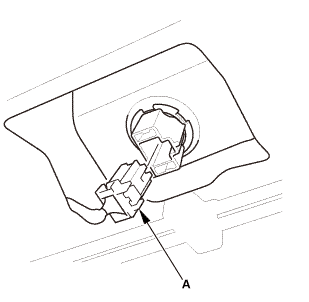
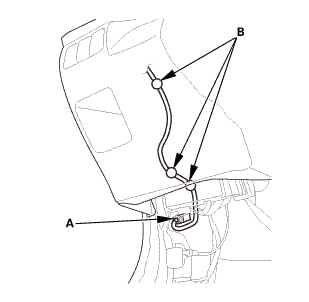
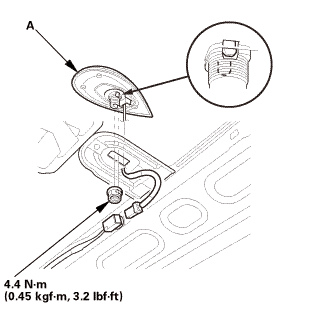
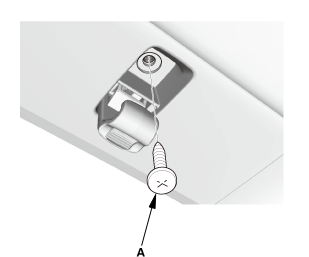
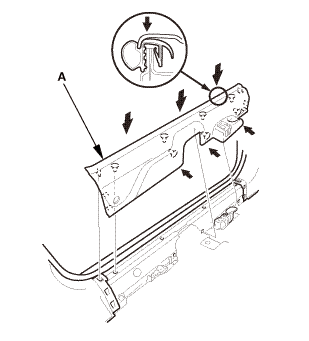
| 1. | XM Antenna |
|
|
|
| 2. | Headliner - 2-Door |
|
|
|
||||||
|
Without moonroof
With moonroof
|
|
|
|
|
 asnwu
asnwu|
|
|
|
|
|
|
|
|
|
|
|
|
|
|
|
|
|

| 3. | Ceiling Light |
|
|
|
 cullingllghr
| 4. | Front Individual Map Light (without moonroof) |
|
|
|
| 5. | Both Sunvisors |
|
|
|
|
|
|
|
|
|
| 6. | Grab Handles for One Vehicle |
|
|
|
|
|
|
| 7. | Both B-Pillar Upper Trims |
|
|
|
|
|
|
| 8. | Both Rear Side Trim Panels |
|
|
|
| 9. | Rear Shelf Trim |
|
|
|
|
|
|
|
|
|
|
|
|
| 10. | Both Quarter Pillar Trims |
|
|
|
|
|
|
||||||||||||||||||||||||

|
|
|
|
|
|
| 11. | Left Rear Seat-Back - Split Fold Down |
|
|
|
|
|
|
| 12. | Center Pivot Bracket - Split Fold Down |
|
|
|
| 13. | Right Rear Seat-Back - Split Fold Down |
|
|
|
| 14. | Rear Seat Cushion |
|
|
|
|
|
|
| 15. | Both Kick Panels |
|
Driver's side
Passenger's side
|
|

| 16. | Front Door Sill Trim - 2-Door |
|
|
|
| 17. | Front Door Sill Trim - 2-Door |
|
|
|
|
|
|
|
|
|

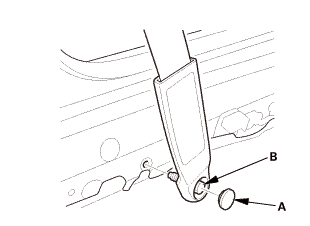
| 18. | Front Seat Belt Lower Anchor Bolt - Driver's Side |
|
|
|
|||||||
|
|
|
|
|
|
 nmimm
nmimm|
|
|
| 19. | Front Door Opening Seal as Needed Both |
|
|
|
| 20. | A-Pillar Trim Both |
|
|
|
|
|
|
||||||||||||||||||||||||||||||
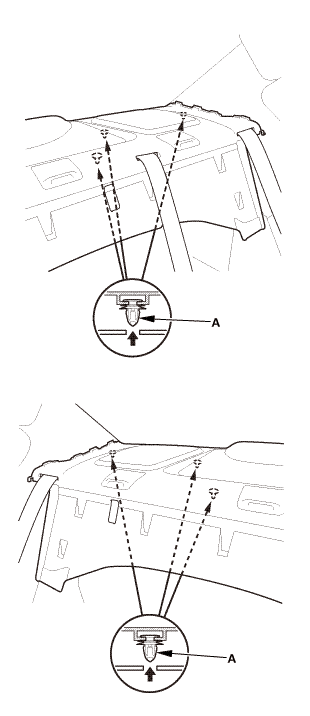
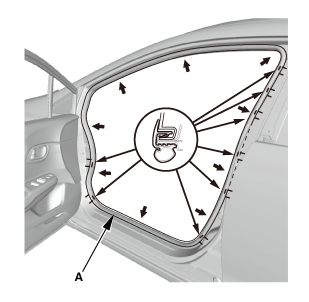
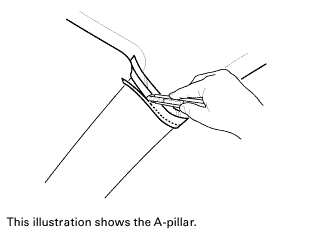
| 21. | Headliner/Pillar Trim Overlap - Check |
|
|
|
 tms
tms|
|
|
|
|
|
||||||||||||||||
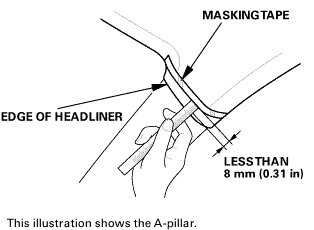 sun:orlessthan
|
|
|
 slmws
slmws| 22. | Battery Terminal (SRS) - Reconnection |
|
|
|
||||||||||||||||
 (o.2ao.sam.
 Keyless Access LF Antenna (Rear Interior) Removal and Installation
1.
Rear Interior LF Antenna
1.
Open the trunk lid.
2. ...
 Driver Assist
...
See also:
Honda Civic Owners Manual. Emissions Testing
Testing of Readiness Codes
Your vehicle has readiness codes as part of the onboard self diagnostic
system.
Some States use these codes for testing to verify whether your vehicle's
emissions
components are working properly.
The codes may not be read properly if testing is performed just a ...
