|
|
|
Check for a gas leak if there is an odor coming from the vehicle.
Compressed natural gas (CNG) can only be smelled, not seen.
|
|
1.
|
Open the hood and the fuel fill door.
|
|
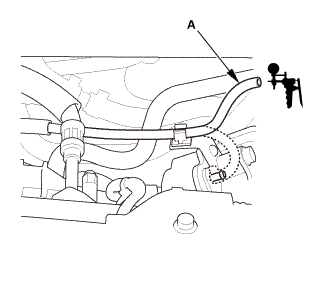
2.
|
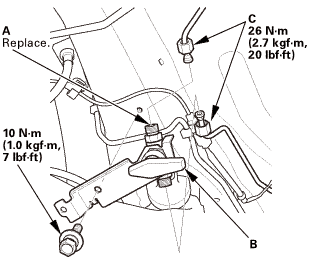
Connect a vacuum pump/gauge, 0-30 inHg, to the hose (A) from
fuel pressure regulator P1, and apply 67.7 kPa (20.0 inHg, 508 mmHg)
of vacuum.
|
|
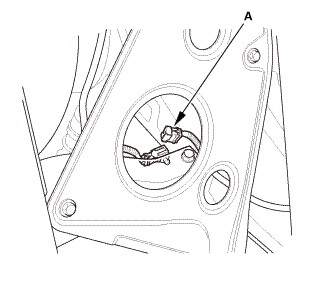
3.
|
If fuel pressure regulator P2 does not hold vacuum, replace it
before continuing to the next step.
|
|
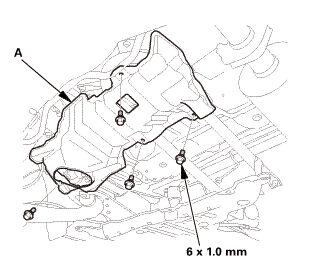
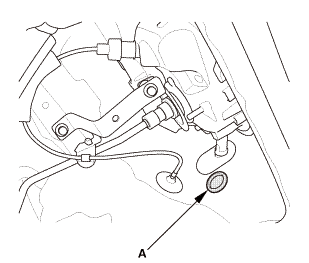
4.
|
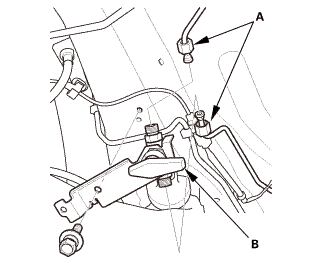
Inspect the fuel lines and hoses under the hood for kinks, abrasion,
and other signs of damage.
|
|
5.
|
With the manual shut-off valve open, turn the ignition switch
to ON (II), but do not start the engine.
|
|
6.
|
After the fuel pressure regulator shut-off solenoid valve/fuel
tank internal solenoid valve operates for about 2 seconds, the fuel
pressure in the fuel lines rises.
|
|
7.
|
Turn the ignition switch to LOCK (0).
|
|
8.
|
Repeat this two or three times.
|
|


 ioumm
ioumm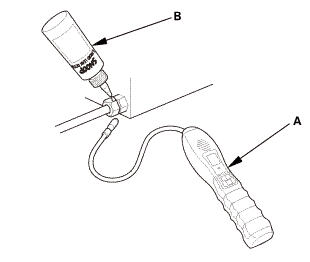
 FTT Sensor Removal and Installation (R18A9)
 Catalytic Converter Removal and Installation (R18Z1)