Honda Civic Service Manual: M/T Change Lever Assembly Removal, Installation, and Inspection (K24Z7)

Removal
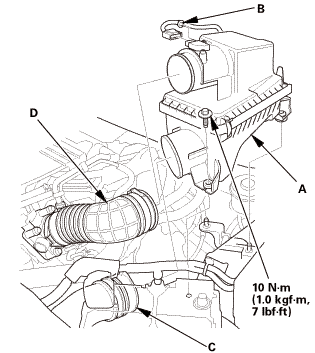
| 1. | Air Cleaner Assembly |
|
|
|
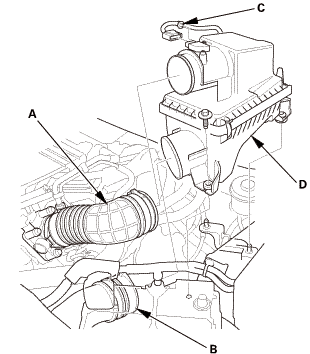
| 2. | Shift Cable Bracket |
|
|
|
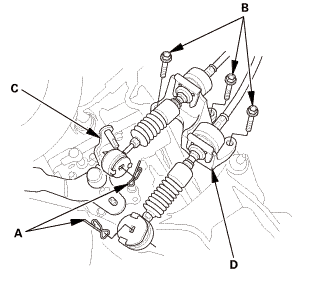
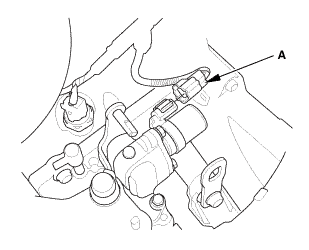
| 3. | Reverse Lockout Solenoid Connector |
|
|
|
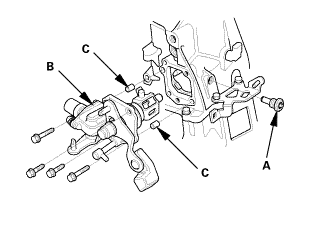
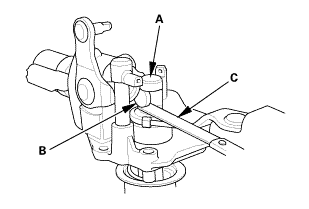
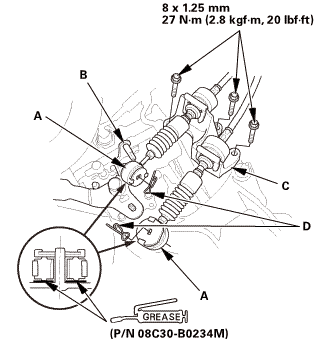
| 4. | M/T Change Lever Assembly |
|
|
|
 Inspection
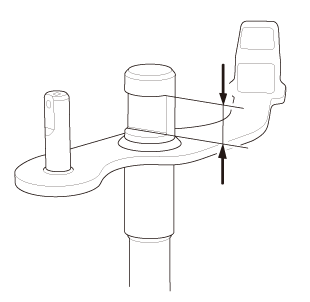
| 1. | Change Lever Inspection |
|
|
|
||||||||||||
|
|
|
|||||||||||||||||||||


Installation
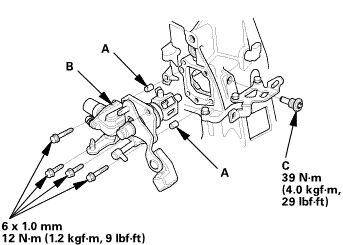
| 1. | M/T Change Lever Assembly |
|
|
|
||||||||||||||||||||
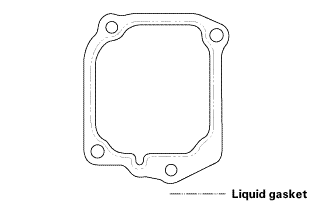 iukn
iukn|
|
|
| 2. | Reverse Lockout Solenoid Connector |
|
|
|
| 3. | Shift Cable Bracket |
|
|
|
|||||||||||||||
 (p/n
(p/n| 4. | Air Cleaner Assembly |
|
|
|
 Right M/T Differential Oil Seal Replacement (R18Z1 M/T)
2191F5 RIGHT
1.
Vehicle Lift
1.
Raise the vehicle on a lift, and make sure it is securely supported.
...
 Clutch
...
See also:
Honda Civic Owners Manual. Changing the Screen Interface
You can change the screen interface design.
1. Select .
2. Select Settings.
3. Select System.
4. Select the Others tab.
5. Select Change Skin.
6. A confirmation message appears on the
screen. Select Yes.
Changing the Screen Interface
After changing the screen interface design ...
