Honda Civic Service Manual: Driver's Seat Position Sensor Removal and Installation
749106

Removal
|
NOTE: |
|
|||
|

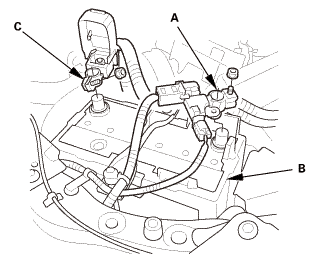
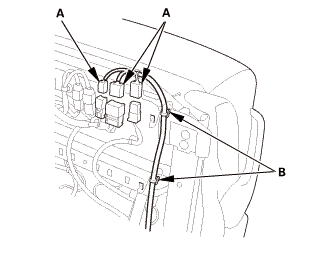
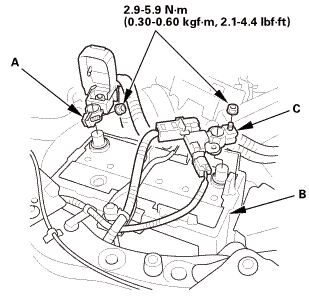
| 1. | Battery Terminal (SRS) - Disconnection |
|
|
|
|||||||||||||||
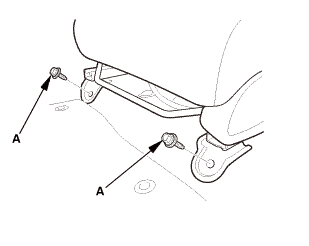
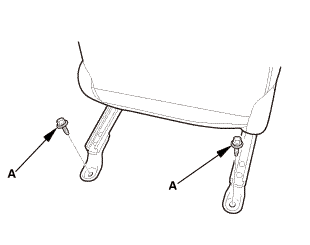
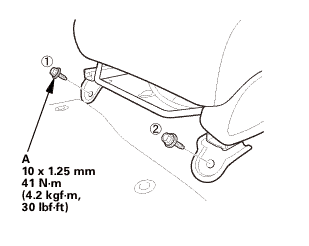
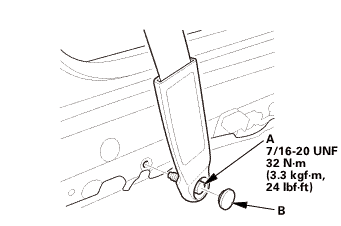
| 2. | Front Seat Belt Lower Anchor Bolt - Driver's Side |
|
|
|
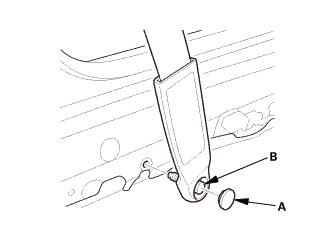
|
|
|
|
|
|
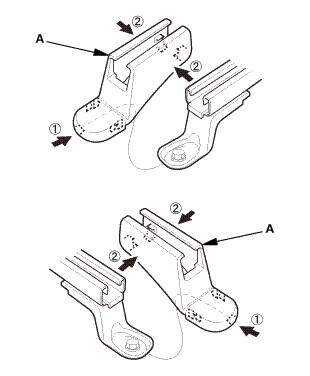
| 3. | Front Seat - Driver's Side |
|
|
|
|
Front side
Rear side
|
|
|
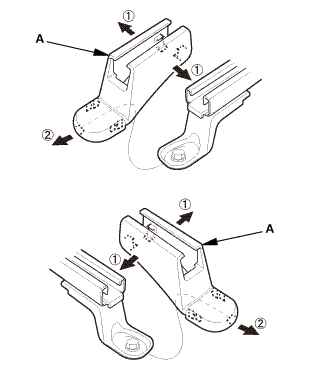
Power seat
Manual seat
|
|
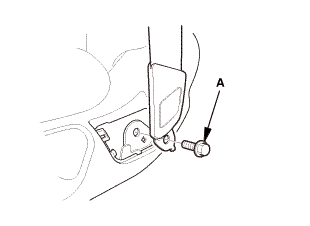
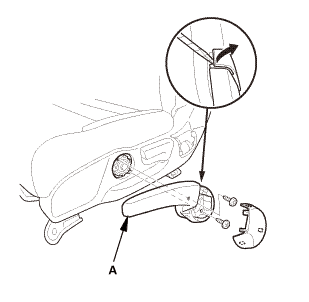
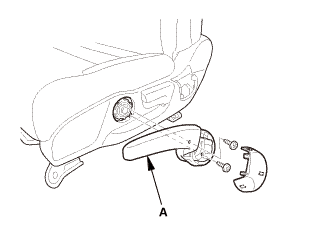
| 4. | Front Seat Height Adjuster Handle - Driver's Side |
|
|
|
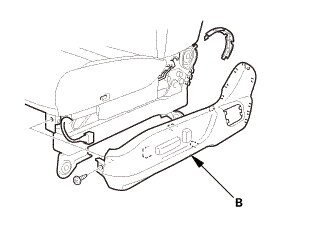
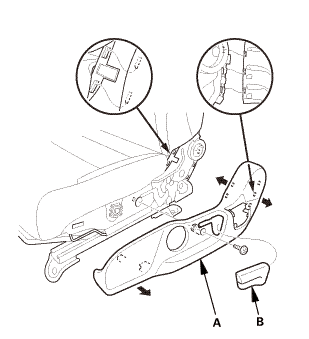
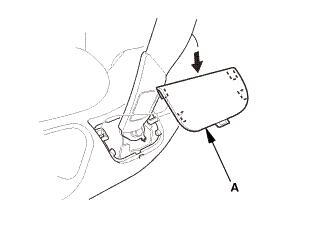
| 5. | Front Seat Recline Cover - Driver's Side |
|
Power seat
Manual seat
|
|
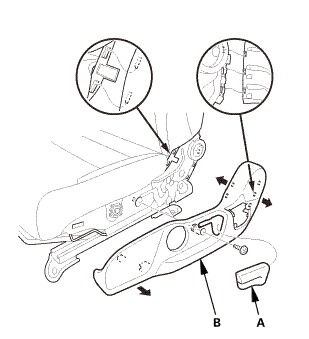
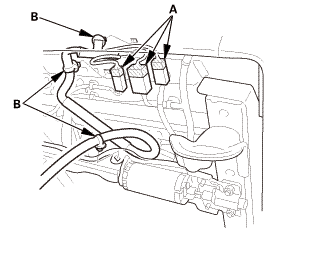
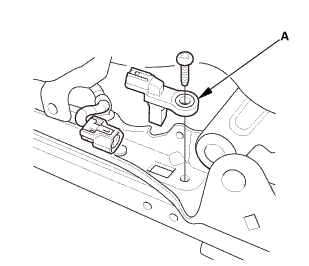
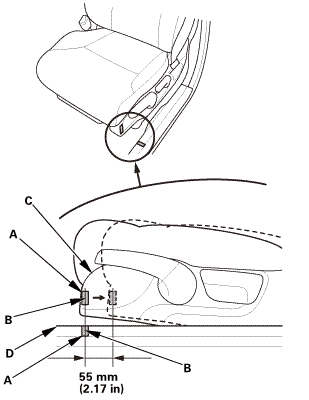
| 6. | Driver's Seat Position Sensor |
|
|
|

Installation
|
NOTE: |
|
|||
|
|||
|
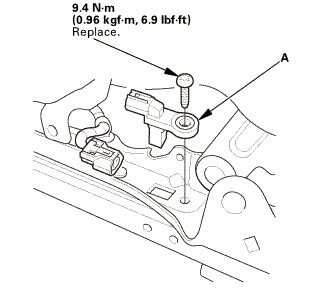
| 1. | Driver's Seat Position Sensor |
|
|
|
| 2. | Front Seat Recline Cover - Driver's Side |
|
Power seat
Manual seat
|
|

| 3. | Front Seat Height Adjuster Handle - Driver's Side |
|
|
|
| 4. | Front Seat - Driver's Side |
|
Power seat
Manual seat
|
|
|
Front side
Rear side
|
|
|||||||||||||||||
 mmu....in
|
|
|
| 5. | Front Seat Belt Lower Anchor Bolt - Driver's Side |
|
|
|
|||||||
|
|
|
|
|
|
 nmimm
nmimm|
|
|
| 6. | Battery Terminal (SRS) - Reconnection |
|
|
|
||||||||||||||||
 (o.2ao.sam.
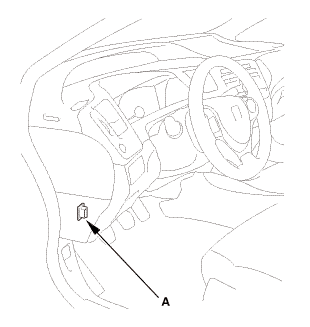
| 7. | HDS DLC - Connection |
|
|
|
| 8. | DTC - Clear |
|
| 9. | Driver's Seat Position Sensor Operation Check |
|
|
|
||||||||||||||||||
| 10. | Confirm Proper SRS Operation |
|

 Secondary
...
See also:
Honda Civic Service Manual. Rear Door Glass Removal and Installation (4-door)
829100 LEFT
830100 RIGHT
Removal
1.
Rear Door Power Window Switch Panel
1.
...
