Honda Civic Service Manual: AM/FM Antenna Amplifier Removal and Installation (2-door)
0151C1

Removal
|
NOTE: SRS components are located in this area. Review the SRS component locations and the precautions and procedures before doing repairs or service. |
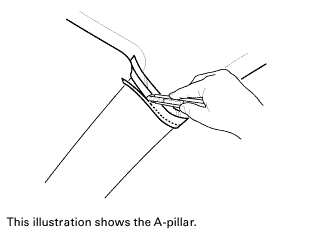
| 1. | Right Quarter Pillar Trim |
|
|
|

|
|
|
|
|
|
|||||||||
|
|
|
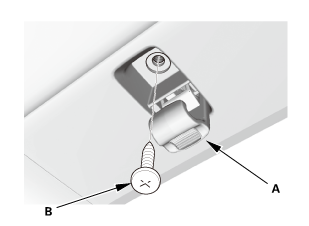
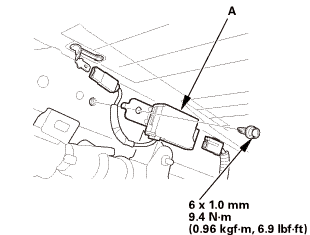
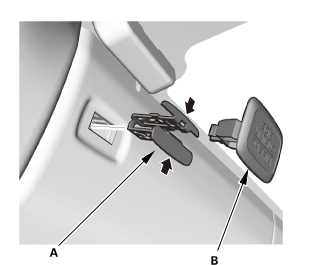
| 2. | AM/FM Antenna Amplifier |
|
|
|

Installation
|
NOTE: SRS components are located in this area. Review the SRS component locations and the precautions and procedures before doing repairs or service. |
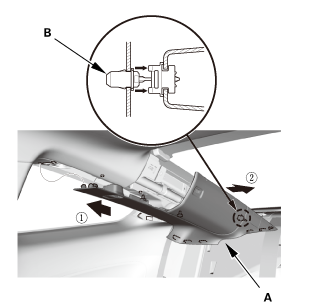
| 1. | Quarter Pillar Trim - Check |
|
|
|
||||||||||||||||||||||||||||||
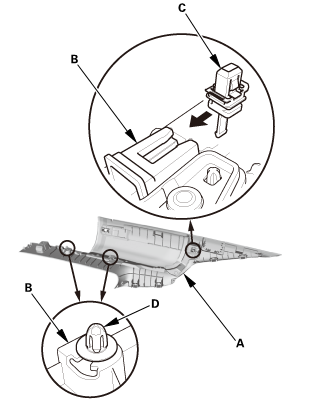

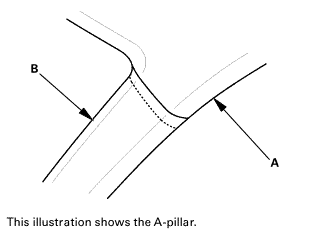
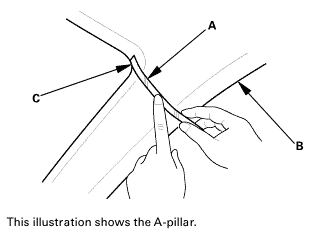
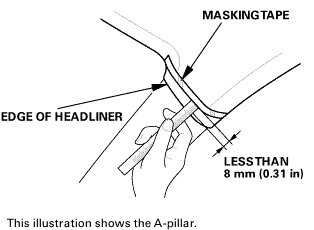
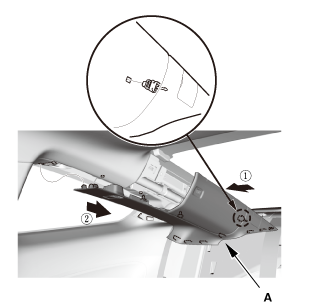
| 2. | Headliner/Pillar Trim Overlap - Check |
|
|
|
 tms
tms|
|
|
|
|
|
||||||||||||||||
 sun:orlessthan
|
|
|
 slmws
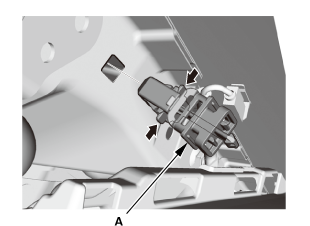
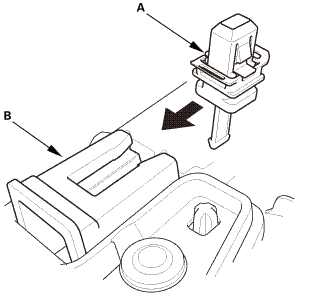
slmws| 3. | AM/FM ANTENNA AMPLIFIER |
|
|
|
| 4. | Right Quarter Pillar Trim |
|
|
|
|
|
|
||||||||||||||||||||||||
|
|
|
|
|
|
 Antenna
...
 GPS Antenna Removal and Installation ('13)
1.
Dashboard Center Pocket
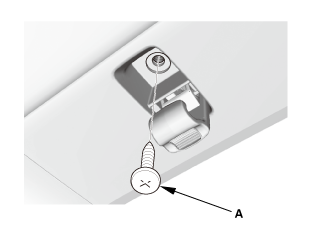
1.
Remove the screws (A).
...
See also:
Honda Civic Service Manual. Center Console Armrest Removal and Installation
0421A2
Removal
1.
Center Console Rear Trim
1.
Remove the center console rear trim (A).
2.
Center Console Armrest
...
